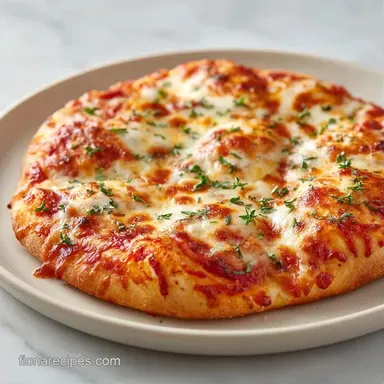
Personal Pan Pizza: Crispy and Chewy
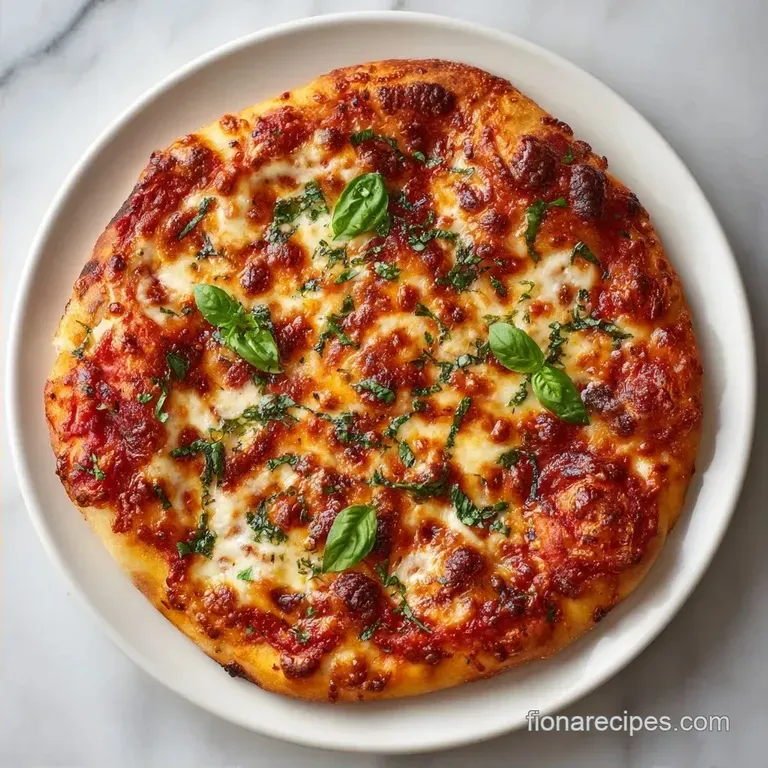
- Time: 20 min active + 20 min resting
- Flavor/Texture Hook: Shatter crisp bottom with a chewy, airy center
- Perfect for: Stress free family dinner night
- Easy Personal Pan Pizza Recipe
- Secrets for a Crispy Crust
- Essential Recipe Specs
- Ingredient Deep Dive
- Necessary Kitchen Gear
- Simple Step-by-Step Instructions
- Fixes and Common Mistakes
- Troubleshooting Common Issues
- Easy Dietary Adaptations
- Storage and Freshness Tips
- Best Side Dish Pairings
- Recipe FAQs
- 📝 Recipe Card
Easy Personal Pan Pizza Recipe
That smell of bubbling mozzarella and toasted yeast hitting the air is just the best. I remember one Friday night where the kids were fighting over who got the middle piece of a large pizza, so I decided we needed a system. Every person gets their own pan.
No fighting, no "he took my pepperoni," just total pizza autonomy.
The trick isn't just the dough, it's the pan. Most people treat pizza like a flatbread, but a pan pizza is closer to a focaccia. You want the dough to practically fry in the oil at the bottom of the tin.
When you pull those six little pans out and the cheese is mahogany gold and sizzling, you know you've got something real.
This Personal Pan Pizza Recipe is designed for people who want that take out vibe without the delivery fee. It's hearty, kid approved, and doesn't require a fancy pizza stone. We're talking real food that fills the house with that cozy, savory aroma that makes everyone run to the kitchen.
Secrets for a Crispy Crust
The magic here isn't a secret ingredient, it's how the heat interacts with the fat. Most home pizzas are soft or soggy because the dough just steams on a baking sheet. By using vegetable oil in the pan, we create a barrier that conducts heat directly into the flour.
- Fat Conduction
- Vegetable oil reaches temperatures higher than water, frying the bottom crust for a shatter crisp finish.
- Bread Flour Strength
- The higher protein in bread flour creates a stronger gluten network, giving the crust that classic chew.
- Yeast Activation
- Sugar provides immediate fuel for the yeast, ensuring a fast rise so you aren't waiting hours for dinner.
- Bottom Rack Heat
- Placing the pans on the lowest rack puts them closest to the heating element, searing the bottom quickly.
| Method | Time | Texture | Best For |
|---|---|---|---|
| Standard Oven | 15 mins | Soft/Chewy | Classic style |
| Stove Finish | +1 min | Shatter Crisp | Texture lovers |
| Pizza Stone | 10 mins | Charred/Thin | Artisan feel |
Essential Recipe Specs
Before we jump in, let's look at the numbers. This isn't a "wait all day" kind of dough. We've trimmed the resting time down to 20 minutes, which is just enough for the gluten to relax so the dough doesn't snap back when you press it into the pan.
Right then, the goal is a crust that is golden on the edges and a bottom that sounds like a cracker when you tap it. If you're planning this for a crowd, you can double the dough and freeze half of it, but for tonight, we're sticking to the six pan plan.
Ingredient Deep Dive
Not all flour is created equal. I’ve tried this with all purpose, and while it works, it lacks that "pull" you get from a real pizza place. Bread flour is the way to go here. It makes the difference between a biscuit like crust and a proper pizza.
| Ingredient | Science Role | Pro Secret |
|---|---|---|
| Bread Flour | Structure | Use a scale if you have one for consistency |
| Active Dry Yeast | Lift | Ensure water is warm, not hot, or you'll kill it |
| Vegetable Oil | Frying | Coat the sides of the pan to prevent sticking |
| Mozzarella | Bind | Shred it yourself for a better melt |
Necessary Kitchen Gear
You don't need a professional kitchen, but you do need the right pans. Six 6 inch cake pans or small oven safe tins are the standard. If you use glass, be careful, as they hold heat differently than metal.
I personally love using small aluminum pans because they distribute the heat evenly and are a breeze to clean. You'll also want a sturdy spatula to lift the pizzas out and a baking sheet if your pans are too small to sit stably on the rack.
Simple step-by-step Instructions
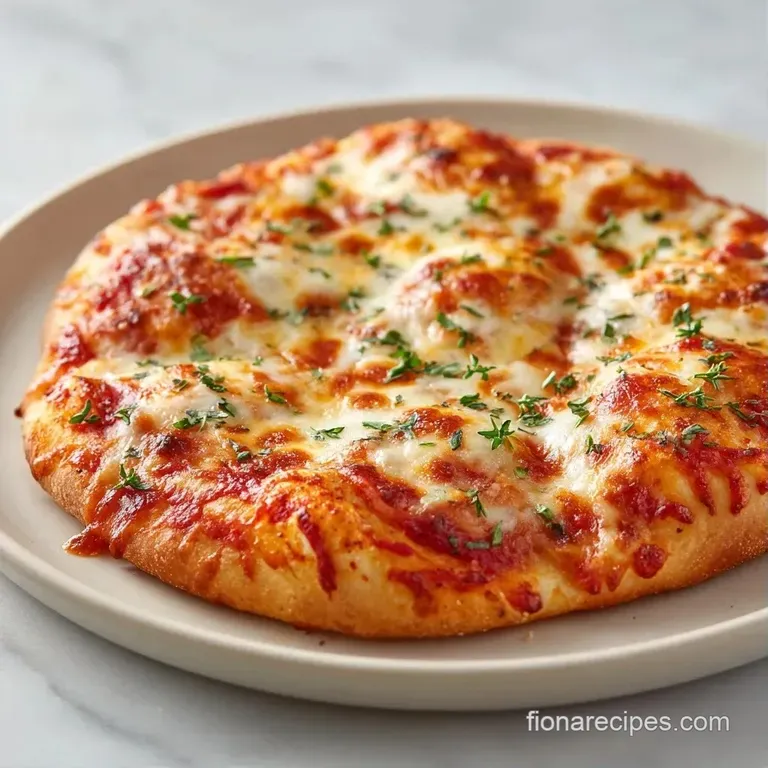
Let's crack on. Make sure your oven is preheating to 425°F (218°C) before you even start the dough.
- Stir the sugar and yeast into warm water. Note: Let it sit for 5 minutes until it looks foamy on top.
- Mix in the olive oil. Gradually stir in the bread flour and salt until a shaggy dough forms.
- Knead the dough by hand for 3-5 minutes. Continue until the surface is smooth and it bounces back when poked.
- Cover the bowl with a damp cloth. Let the dough rest in a warm spot for 15-20 minutes.
- Pour 1 tbsp of vegetable oil into each of the six 6 inch pans. Coat the bottom and the sides completely.
- Divide the dough into 6 equal portions. Place one in each pan and press the dough outward toward the edges, pushing it slightly up the sides to create a rim.
- Spread 2-3 tbsp of pizza sauce evenly over the dough. Top with a generous handful of mozzarella and sliced pepperoni.
- Bake on the lowest oven rack at 425°F (218°C) for 12-15 minutes. Wait until the cheese is bubbling and the edges are deep mahogany gold.
- Optional: Place the pan over a stove burner on medium heat for 60 seconds. Listen for the sizzle to ensure a final crisp on the bottom.
Fixes and Common Mistakes
The biggest issue I see with a Homemade Personal Pan Pizza Recipe is the "gum line." This happens when the sauce is too watery or there's too much of it, creating a layer of raw dough between the sauce and the crust.
Troubleshooting Common Issues
| Issue | Solution |
|---|---|
| Why Your Crust Is Gummy | If the middle of your pizza feels like raw dough, you likely over sauced it. The sauce seeps into the dough and prevents it from baking through. Use a thick sauce and keep it away from the very edges. |
| Why the Dough Shrinks | If the dough keeps pulling away from the edges of the pan, it hasn't rested long enough. The gluten is too tight. Give it another 5-10 minutes of resting, then press it back into the corners. |
| Why the Cheese Burnt | Your oven might have a "hot spot" or the rack is too high. Always use the lowest rack for pan pizzas to ensure the bottom cooks before the cheese turns into a charcoal brick. |
Common Mistakes Checklist
- ✓ Did you use warm water (not boiling) for the yeast?
- ✓ Did you oil the sides of the pan, not just the bottom?
- ✓ Is the oven rack in the lowest position?
- ✓ Did you press the dough all the way to the edges?
- ✓ Did you avoid adding too much sauce?
Easy Dietary Adaptations
If you're not in the mood for red sauce, you can easily pivot. I love using a creamy white pizza sauce for a garlic parmesan version. Just swap the red sauce and add some fresh spinach and ricotta.
For those avoiding gluten, you can use a 1:1 gluten-free flour blend, but be warned: the texture will be denser. You'll likely need to increase the baking time by 5 minutes since gluten-free dough doesn't brown as quickly.
If you want to reduce the calories, you can swap the vegetable oil in the pan for a high-quality olive oil spray. You'll lose some of that "fried" crunch, but you'll save a significant amount of fat.
For a vegan version, use a cashew based mozzarella and omit the honey or sugar in the dough (the yeast will still work, just slower).
Storage and Freshness Tips
Leftover pizza is a staple in my house, but reheating it wrong is a crime. Never put it in the microwave if you can avoid it, as it turns the crust into a sponge.
- Fridge Storage
- Keep slices in an airtight container for up to 3 days.
- Freezer Storage
- Wrap individual pizzas tightly in foil and place them in a freezer bag for up to 2 months.
- Reheating
- The best way is a skillet over medium heat with a lid. This crisps the bottom back up and melts the cheese without drying out the crust.
To keep things zero waste, don't toss the leftover flour dust or small scraps of dough. I usually roll the tiny scraps into "pizza crackers" with a bit of salt and bake them alongside the main pizzas for a quick snack.
Best Side Dish Pairings
Since this Personal Pan Pizza Recipe is quite rich and salty, you need something to cut through that heaviness. A sharp, acidic salad is the best bet. I usually toss together some arugula, lemon juice, and shaved parmesan.
If you're feeding kids, some raw carrot sticks and cucumber slices with a light dip keep the meal balanced. For a more indulgent night, some garlic knots or a side of spicy wings work perfectly. Trust me, the acidity of a vinegar based slaw also pairs surprisingly well with the fried nature of the pan crust.
Chef's Note: If you want an even deeper flavor, add a pinch of garlic powder and dried oregano directly into the flour before mixing. It scents the whole crust and makes the house smell like a real pizzeria.
Decision Shortcut:
- Want a thinner crust? Press the dough thinner and bake for 12 mins.
- Want it cheesier? Add a layer of parmesan under the mozzarella.
- Want it crispier? Use the 60 second stovetop finish.
Recipe FAQs
What is the best pizza for diabetics?
Choose thin-crust options with heavy vegetable toppings. Reducing the amount of dough and adding fiber helps manage blood glucose levels more effectively.
Is pizza good for potassium?
No, pizza is not a significant source of potassium. While the tomato sauce contains some, it is usually outweighed by high sodium levels.
What kind of pizza can Ckd patients eat?
Opt for low-sodium crusts and limited cheese. Controlling phosphorus and potassium is essential, so using fresh toppings and minimizing processed meats is recommended.
What are some easy dinner recipes for two people?
Try making personal pan pizzas or a Tuna Melt Sandwich. These meals are quick to prepare and produce very little waste for a small household.
Easy personal pan pizza recipe?
Press divided dough into oiled 6-inch pans. Top with sauce, mozzarella, and pepperoni, then bake on the lowest oven rack at 425°F for 12-15 minutes.
Quick pan pizza dough recipe?
Stir sugar and yeast into warm water until foamy, then mix in olive oil, bread flour, and salt. Knead for 3-5 minutes and let the dough rest for 15-20 minutes.
Why is my pizza crust gummy?
You likely used too much sauce. Excess sauce seeps into the dough during baking and prevents the crust from fully cooking through.
Personal Pan Pizza Recipe: Crispy