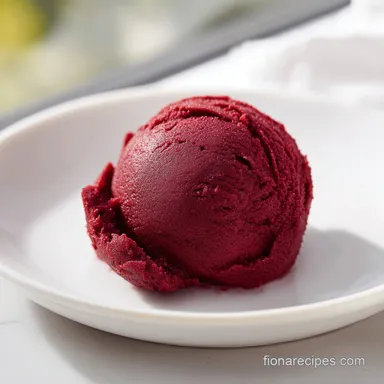
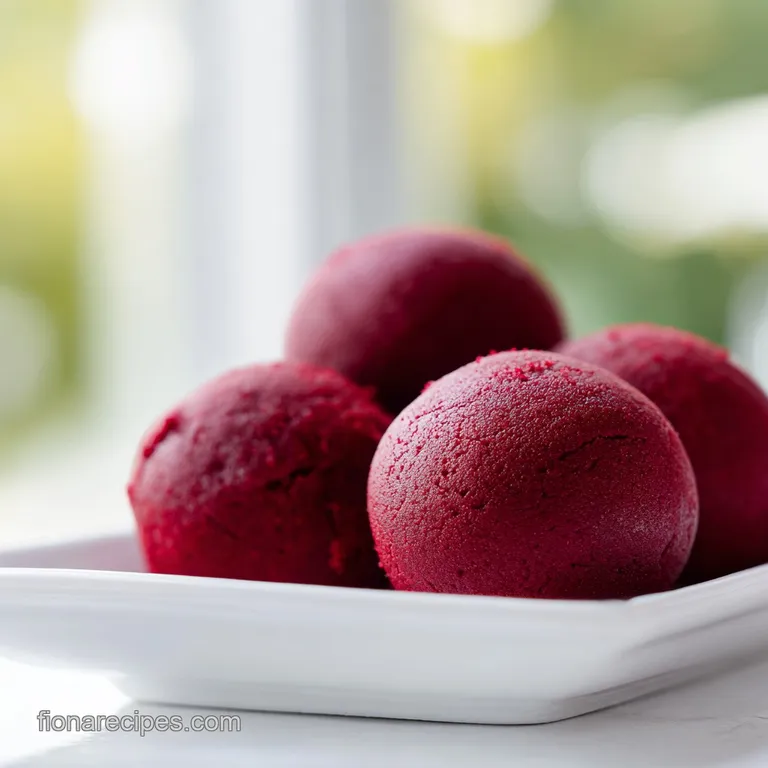
Guilt-Free Edible Red Velvet Cookie Dough
- Time:15 minutes active + 30 minutes chilling = Total 52 minutes
- Flavor/Texture Hook: Velvety, scoopable dough with a slight tang and creamy white chocolate pops
- Perfect for: Late night cravings, dessert platters, or a foolproof treat for kids
My Stolen Spoon Memory
That specific scent of cocoa powder hitting warm butter always takes me back to my grandma's kitchen. I remember being six years old, perched on a stool, watching her cream butter and sugar. The moment she turned her back to reach for the vanilla, I went for it.
I stole a massive glob of dough with a wooden spoon, thinking I'd found a secret treasure. The result? A gritty, overly sweet paste that almost made me gag. It wasn't "velvety" at all, just raw flour and sugar crystals.
Fast forward twenty years, and I've spent a lot of time figuring out how to get that childhood thrill without the grit or the risk of raw flour. This version isn't just a cheat; it's a calculated approach to texture. We're skipping the baking process entirely but keeping the soul of a red velvet cake.
It's about that specific intersection of mild chocolate and a creamy finish.
The hero here is the maple syrup. While most recipes use powdered sugar, which can feel like eating chalk, maple syrup provides a liquid sweetness that binds the flour and butter into a cohesive, silky mass. It adds a subtle depth that complements the cocoa without overpowering the red velvet profile.
If you've ever had a version that felt sandy, it's because the sugar didn't dissolve. By using a liquid sweetener, we ensure every single bite is uniform and smooth. This edible red velvet cookie dough is exactly what I wish I'd had on that stolen spoon decades ago.
Why This Recipe Works
Instead of relying on the oven to create structure, we use a few specific mechanical tricks to ensure the dough feels like something you'd find in a professional bakery.
- Heat Treatment: Heating the flour to 160°F (71°C) neutralizes bacteria and changes the starch structure, removing the "raw" taste.
- Liquid Binding: Maple syrup replaces granulated sugar, acting as both the sweetener and the moisture agent to prevent a grainy mouthfeel.
- Fat Suspension: Softened butter provides the necessary lipids to carry the cocoa flavor and create a velvety emulsion.
- Color Stabilization: Using gel coloring instead of liquid prevents the dough from becoming too runny, maintaining a thick, scoopable consistency.
The goal here is precision. We aren't just mixing things together; we're creating a stable emulsion of fats and sugars that doesn't separate when chilled.
| Method | Prep Time | Texture | Best For |
|---|---|---|---|
| Fast (Microwave) | 15 minutes | Soft, fudgy | Immediate cravings |
| Classic (Oven) | 22 minutes | Denser, stable | Large party batches |
Precision Dough Specs
Before we dive into the tools, let's look at the "golden ratios" that make this work. Precision is what separates a "paste" from a "dough."
- 1. Flour Internal Temp
- Exactly 160°F (71°C) to ensure safety without scorching.
- 2. Butter State
- Softened to about 65°F (18°C) - it should dent under a finger but not be greasy.
- 3. Chill Window
- Minimum 30 minutes in the fridge to allow the starches to hydrate.
Component Analysis
| Ingredient | Science Role | Pro Secret |
|---|---|---|
| AP Flour | Structural Base | Heat treating it makes it taste "cooked" without the oven |
| Maple Syrup | Humectant/Sweetener | Prevents the "sandiness" of raw granulated sugar |
| Unsalted Butter | Emulsifier | Provides the mouthfeel that mimics traditional cookie dough |
| Cocoa Powder | Flavor Profile | Sifting is mandatory to avoid bitter cocoa clumps |
The Essential Ingredient List
Keep your measurements exact. If you have a kitchen scale, use the grams for a foolproof result.
- 1 cup (125g) all purpose flour Why this? Provides the classic structure we expect from dough (Substitute: Oat flour for a nuttier taste)
- 1/3 cup (75g) unsalted butter, softened Why this? Essential for that velvety, rich mouthfeel (Substitute: Coconut oil for dairy-free)
- 1/3 cup (65g) maple syrup Why this? Ensures a smooth, non grainy texture (Substitute: Honey, though it's stronger)
- 2 tbsp (15g) unsweetened cocoa powder Why this? Gives the "velvet" its signature mild chocolate base (Substitute: Dutch processed for darker color)
- 1/2 tsp (2.5g) baking powder Why this? Adds a tiny bit of lift/airiness to the raw texture (Substitute: omit if not available)
- 1/4 tsp (1.5g) fine sea salt Why this? Cuts through the sweetness and highlights the cocoa (Substitute: Kosher salt)
- 1 tsp (5ml) pure vanilla extract Why this? Rounds out the flavor profile (Substitute: Almond extract for a wedding cake vibe)
- 2-3 drops (1-2ml) red gel food coloring Why this? Gel is more concentrated and won't ruin the consistency (Substitute: Beet powder, but color will be muted)
- 1/3 cup (60g) mini white chocolate chips Why this? Adds creamy contrast to the cocoa (Substitute: Mini marshmallows)
- 1 tbsp (15ml) milk Why this? Adjusts the final consistency if the dough is too stiff (Substitute: Almond milk)
Necessary Kitchen Tools
You don't need a professional kitchen, but a few specific items make the process much cleaner.
- Instant read thermometer: Crucial for verifying the flour temperature.
- Medium mixing bowl: Enough room to beat the butter without splashing.
- Sifter or fine mesh strainer: Cocoa powder is notorious for clumping.
- Rubber spatula: For folding in the chips without over mixing.
- Microwave safe bowl: For the heat treatment phase.
Exact Assembly Process

Follow these steps in order. If you rush the flour cooling, you'll melt your butter and end up with a soup rather than a dough.
Phase 1: Sterilizing the Flour
Place the 125g of flour in a microwave safe bowl. Heat in 30 second intervals, stirring every time to avoid hot spots. Use your thermometer to check the center; stop once it hits 160°F (71°C). According to Serious Eats, heat treating flour is the safest way to eliminate potential bacteria like E. coli in raw dough. Let it cool completely.
Phase 2: Creaming the Base
In a medium bowl, beat the 75g of softened butter and 65g of maple syrup. Work them together until the mixture is smooth and looks pale. Stir in the 5ml of vanilla extract.
Phase 3: Infusing the Red Velvet Flavor
Sift the cooled flour, 15g of cocoa powder, salt, and baking powder directly into the butter mixture. Mix on low speed until just combined. Add 1-2ml of red gel coloring. Blend until the dough is a uniform, vivid crimson.
Phase 4: Folding in the Texture
Using a spatula, gently fold in the 60g of white chocolate chips. If the dough feels too stiff to scoop, stir in the 15ml of milk one teaspoon at a time until it reaches a soft, scoopable consistency.
Phase 5: Setting the Dough
Transfer the mixture to an airtight container. Refrigerate for 30 minutes. This is where the flavors meld and the butter firms up, creating that professional, chewy texture.
Expert Tips and Mistakes
The difference between a "good" and "great" dough is often in the tiny details. Don't ignore the cooling time of the flour.
Chef's Note: If you want an even deeper color, add the red gel coloring to the butter/syrup mixture before adding the flour. It distributes more evenly in the fat.
Troubleshooting Common Issues
| Issue | Solution |
|---|---|
| Why Your Dough is Grainy | This usually happens if you used granulated sugar instead of maple syrup, or if your butter was too cold to emulsify. The sugar crystals don't have moisture to dissolve in, so they stay gritty. |
| Why Your Dough is Runny | Too much liquid coloring or adding the flour while it was still hot are the usual culprits. Hot flour melts the butter instantly, breaking the emulsion. |
| Why Your Color is Streaky | You likely stirred too gently or used liquid coloring that didn't blend well. Use a spatula to scrape the sides of the bowl thoroughly. |
Mistakes Checklist:
- ✓ Flour cooled completely before mixing?
- ✓ Cocoa powder sifted to remove lumps?
- ✓ Butter softened but not melted?
- ✓ Gel coloring used instead of liquid?
- ✓ Chilled for at least 30 minutes?
Flavor Twists and Swaps
Once you've mastered the base, you can play with the mix ins. This is where you can turn a simple treat into something specialized.
The Cheesecake Twist: Fold in 2 tablespoons of softened cream cheese and a pinch of lemon zest. This mimics the classic red velvet cake with cream cheese frosting.
The Oreo Version: Chop up two red velvet Oreos and fold them in along with the white chocolate chips. It creates a "cookie dough within a cookie dough" effect.
The Single Serve: If you don't want a full batch, you can adapt this into edible cookie dough for one, though you'll have to be very precise with the drops of coloring.
Dietary Adjustments: - Vegan: Use vegan butter and almond milk. The maple syrup already makes it dairy-free. - Keto: Use almond flour and a sugar-free maple substitute, though the texture will be more "paste like" and less "doughy."
Decision Shortcut:
- If you want a "Cake" vibe → Add cream cheese and lemon zest.
- If you want a "Candy" vibe → Use mini marshmallows instead of chips.
- If you want a "Deep Chocolate" vibe → Use Dutch processed cocoa.
Storage and Waste Tips
Since this contains dairy (butter and milk), you can't leave it on the counter for long.
Storage Guidelines: Keep the dough in an airtight container in the fridge for up to 5 days. For longer storage, it freezes beautifully for up to 2 months. To thaw, just leave it in the fridge overnight.
Reheating: Do not reheat this! The beauty of this recipe is the raw, fudgy texture. If it's too hard from the freezer, let it sit at room temperature for 15 minutes.
Zero Waste: If you have a small amount of dough left in the bowl, don't waste it. Roll it into a tiny ball and freeze it as a "dough bite." Also, if you're making this as part of a larger baking day, you can use your leftover flour from other recipes for the heat treatment phase. If you love these sorts of treats, you might also like my Sourdough Discard Crackers for something salty.
Perfect Pairing Suggestions
This dough is quite rich and sweet, so it pairs best with things that offer a contrast in temperature or acidity.
- Fresh Berries: Raspberries or sliced strawberries cut through the richness of the butter and cocoa.
- Cold Milk: The classic pairing. The coldness cleanses the palate between bites of the dense dough.
- Strong Coffee: A black espresso or a bold dark roast balances the sweetness of the maple syrup.
- Tart Apples: Slices of Granny Smith apples provide a crisp, acidic snap that complements the velvety texture.
Recipe FAQs
Is it safe to eat the flour in this raw dough?
Yes, because it is heat treated. Heat the flour in the microwave in 30-second intervals until it reaches 160°F (71°C) to make it safe for raw consumption.
Why is my cookie dough runny?
Hot flour or too much coloring typically cause this. Adding flour while it is still hot melts the butter and breaks the emulsion.
Why does the dough feel grainy?
The butter was likely too cold to emulsify. This prevents the fats from blending smoothly with the maple syrup.
How to adjust the dough if it is too stiff?
Stir in milk one teaspoon at a time. Mix gently until the dough reaches a soft, scoopable consistency.
Is it true I must bake this dough to avoid getting sick?
No, this is a common misconception. The flour is heat treated during the preparation process, making the raw dough completely safe to eat.
How long can I store the dough?
Keep it in the fridge for up to 5 days. For longer storage, place it in an airtight container in the freezer for up to 2 months.
Can I customize the mix-ins?
Yes, you can fold in nuts or dried berries. If you like the pairing of white chocolate and fruit, see how we use that balance in our white chocolate cranberry cookies.
Edible Red Velvet Cookie Dough