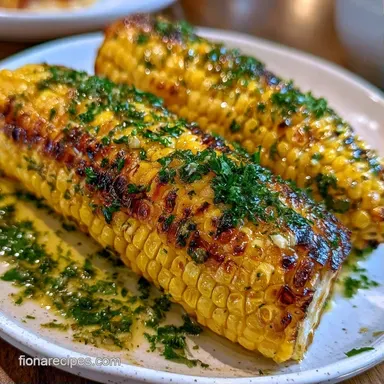
Smoky Garlic Butter Grilled Corn on the Cob
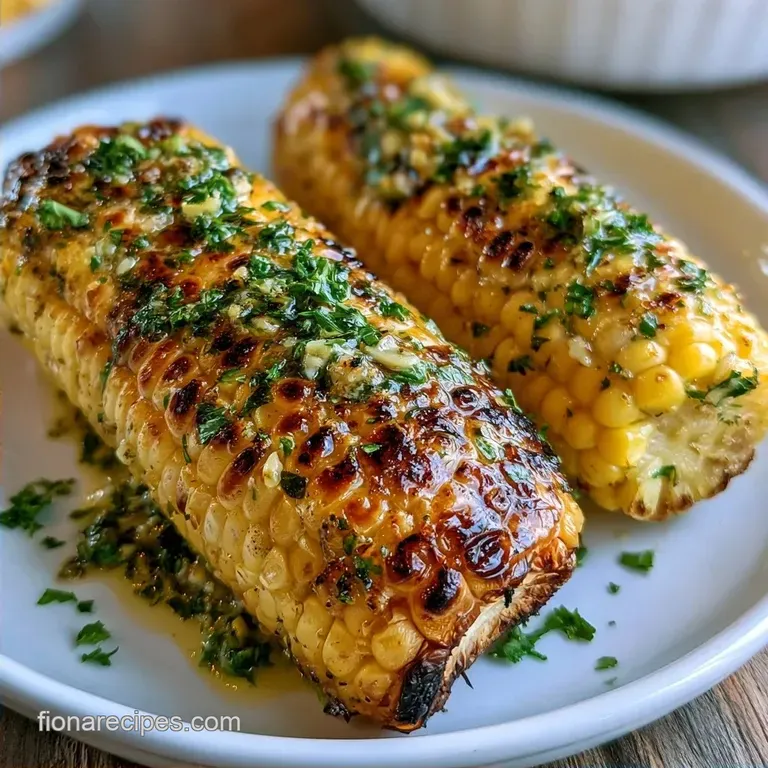
- Time: 5 min active + 15 min cooking
- Flavor/Texture Hook: Smoky, charred kernels with a rich garlic finish
- Perfect for: Summer family BBQs and weeknight sides
Grilled Corn On the Cob
Sizzle. That's the sound of a hot grate meeting a buttered ear of corn on a humid August evening. I can still smell the charcoal and cut grass from the summers I spent at my parents' place, where the grill was the center of everything.
My kids now fight over who gets the most "burnt" bits, which is exactly why we do this.
This is the only recipe you need for Grilled Corn On the Cob with Garlic Butter. It's not about being fancy. It's about that specific, smoky taste that makes a backyard dinner feel like a real event.
We're keeping it simple, hearty, and fast enough that you aren't stuck at the grill all night while everyone else is chatting.
You can expect kernels that pop with sweetness and a garlic butter glaze that sinks right in. Whether you're feeding a crowd or just the family, this recipe delivers that classic comfort food feel without any fuss.
Why the Char Matters
Natural Sugars: Direct heat caramelizes the corn's sugars. This creates those brown spots that taste like toasted nuts.
High Heat: Grilling fast prevents the kernels from getting mushy. It locks in the snap of the corn.
Since we aren't boiling the corn first, we avoid diluting the flavor. According to Serious Eats, grilling corn without husks allows for better heat penetration and a more consistent char.
| Method | Time | Texture | Best For |
|---|---|---|---|
| Direct Grill | 15 mins | Snap & Char | Bold, smoky flavor |
| Boiled First | 25 mins | Soft & Juicy | Mild, classic taste |
Right then, if you're in a rush and don't have the grill fired up, you might prefer a boiled corn recipe for a faster, softer result. But for the full summer experience, the grill is the way to go.
Essential Grill Gear
This recipe requires minimal equipment. Any standard outdoor grill, whether charcoal or gas, will do. Be sure to use long handled tongs to avoid burns. Aside from that, you only need a small saucepan for the butter and a silicone brush for the glaze. A spoon works perfectly if you're without a brush.
Ingredient Deep Dive
Before we get to the list, let's look at what's actually happening in the pan and on the grill.
| Component | Purpose | Substitute Notes |
|---|---|---|
| Sweet Corn | Main body | Frozen corn (thawed) works but lacks snap |
| Avocado Oil | Heat barrier | Grapeseed oil: Similar high smoke point |
| Unsalted Butter | Richness | Salted butter: Reduce added sea salt |
| Fresh Garlic | Pungent aroma | Garlic powder: Use 1/2 tsp, add at end |
Now, grab these items from your pantry.
- 4 ears (680g) fresh sweet corn, husks and silk removed Why this? Fresh corn has higher sugar content.
- 1 tbsp (15ml) avocado oil Why this? High smoke point prevents burning.
- 3 tbsp (42g) unsalted butter, softened
- 3 cloves (9g) garlic, minced finely
- 1 tsp (2g) fresh parsley, finely chopped
- 1/2 tsp (3g) sea salt
- 1/4 tsp (1g) cracked black pepper
Recipe Specs
- Prep time: 5 minutes
- Cook time: 15 minutes
- Total time: 20 minutes
- Yield: 4 servings
Chef's Note: For a deeper flavor, I sometimes add a pinch of smoked paprika to the butter. It doesn't change the cook time, but it makes the corn look even more mahogany.
How to Make It
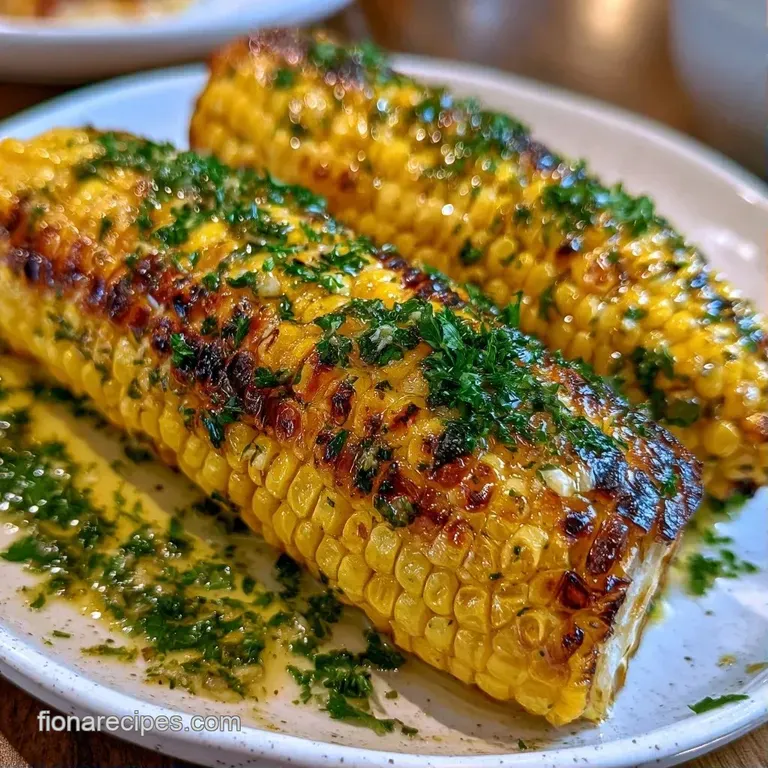
Let's get into the flow. I like to prep the butter while the grill heats up so everything finishes at the same time.
Phase 1: Prepping the Ears
Remove all husks and silk from the corn. Lightly brush each ear with avocado oil. Note: This stops the corn from sticking to the grates.
Phase 2: Achieving the Char
Preheat the grill to medium high heat. Place the corn directly on the grates. Grill for 12–15 minutes, turning the ears every 3–4 minutes until kernels are golden yellow with scattered charred brown spots.
Phase 3: The Finishing Glaze
While the corn grills, melt the butter in a small saucepan over low heat. Add the minced garlic and sauté for 2 minutes until fragrant but not browned.
Remove the butter mixture from heat. Stir in the chopped parsley, salt, and pepper.
Brush the garlic butter generously onto the Grilled Corn On the Cob immediately after removing the ears from the grill.
| Original Ingredient | Substitute | Why It Works |
|---|---|---|
| Avocado Oil (1 tbsp) | Melted Butter | Works for flavor, but may smoke more |
| Fresh Parsley | Dried Parsley | Similar look, though less bright flavor |
| Unsalted Butter | Olive Oil | Healthier fat, but loses that creamy taste |
Trust me on this: don't skip the oil brush. I once tried grilling "dry" corn and spent ten minutes scrubbing charred kernels off my grates.
Fixing Common Issues
Sometimes the grill has a mind of its own. If your kernels feel tough or the garlic tastes bitter, it's usually a temperature issue.
Kernels Stay Tough
If the corn feels starchy after 15 minutes, your grill is likely too cool. Crank the heat to medium high. If the corn is older and drier, you can wrap it in foil for the first 5 minutes to steam, then unwrap to char.
Burnt Garlic Taste
Garlic burns quickly at high heat. If your butter tastes acrid, you likely sautéed the garlic for too long. Keep the heat low and remove the pan the second you can smell the garlic.
Corn Sticking
This happens when the grates aren't oiled or the corn is placed on the grill before it's hot enough. Ensure the grates are preheated and the corn is well coated in avocado oil.
| Problem | Root Cause | Solution |
|---|---|---|
| Tough Kernels | Low grill temp | Increase heat to medium high |
| Bitter Butter | Garlic overcooked | Sauté for only 2 minutes on low |
| Uneven Char | Not turning often | Rotate ears every 3–4 minutes |
Storage and Waste Tips
Store any remaining portions in an airtight container in the refrigerator, where they will last for 3 days. To reheat, try to avoid the microwave; instead, a quick sear in a hot skillet for 3 minutes will restore that crisp snap and smoky char.
To freeze, first cut the kernels off the cob. Blanch them for 2 minutes, cool immediately in ice water, and store in bags for up to 3 months.
If you're feeling creative, don't discard the husks. You can use them as wraps for other vegetables on the grill, or toss them in the compost to nourish your garden.
Creative Twists and Swaps
Once you've got the basic Grilled Corn On the Cob down, you can play with the toppings. This is where the meal gets interesting for the kids.
- Mexican Style: Swap the parsley for cilantro and add a squeeze of lime and some crumbled cotija cheese.
- Spicy Kick: Mix in a pinch of cayenne pepper or chipotle powder to the butter.
- Vegan Version: Use a high-quality vegan butter substitute or a blend of olive oil and nutritional yeast for a cheesy, savory vibe.
If you're planning a bigger spread, this pairs great with BBQ grilled corn if you want a heavier sauce.
| Goal | Exact Change |
|---|---|
| Extra Tang? | Add 1 tsp lime zest to butter |
| More Heat? | Fold in 1/2 tsp red pepper flakes |
| Earthier Taste? | Use smoked paprika instead of pepper |
Right then, just remember to keep the additions balanced. The corn is already sweet, so you don't need much to make the flavors pop.
Presentation Tips
I usually serve this on a large wooden platter in the center of the table. It's a "grab and go" kind of side. Lay the corn diagonally and sprinkle a little extra fresh parsley over the top for a pop of green.
The Backyard Platter
Place the corn on a bed of corn husks for a rustic look. Serve with a side of lime wedges and a bowl of extra garlic butter for those who want to dip.
Perfect Pairings
This goes with almost anything from the grill. I love it alongside charred burgers or a heap of grilled shrimp. If you want something lighter, a crisp cucumber salad cuts through the richness of the butter.
Common Kitchen Myths
"You must grill corn in the husk to keep it juicy." This is a common misconception. Grilling in the husk essentially steams the corn. While it's juicy, you lose the charred, nutty flavor. Grilling "naked" with a bit of oil gives you the best of both worlds: juice and char.
"Searing the corn seals in the moisture." Searing doesn't actually "seal" anything. Moisture loss happens regardless of the heat. The char is all about flavor and texture, not about locking in water.
"Fresh corn is always better than frozen." For this recipe, yes. Frozen corn has a different cellular structure after freezing, so it won't get that same crisp "pop" when you bite into it.
Right then, that's how you get a proper Cob with Garlic Butter. It's simple, it's real food, and it's exactly what summer tastes like. Get the grill hot and let's crack on.
Recipe FAQs
Is it true that butter should be applied to the corn before grilling?
False. Brush with avocado oil first to prevent sticking and get a better sear, then apply garlic butter after grilling.
How do you make corn on the cob with garlic butter?
Melt butter in a saucepan over low heat and sauté minced garlic for two minutes. Stir in parsley, salt, and pepper before brushing it onto the hot corn.
How long does it take to grill corn on the cob?
Grill for 12 to 15 minutes over medium high heat. Turn the ears every 3 to 4 minutes until they are golden yellow with charred spots.
Must corn be boiled before it goes on the grill?
Not true. Grilling fresh corn directly on the grates provides a superior charred flavor and a better snap.
Can frozen corn be used for this recipe?
Yes, but thaw the ears completely first to ensure they char rather than steam. If you enjoyed managing moisture here, see how the same principle applies to our boiled frozen corn.
How to grill corn without a husk?
Remove all husks and silk from the ears first. Coat them in avocado oil and grill on medium high heat for 12 to 15 minutes.
Grilled Corn On The Cob