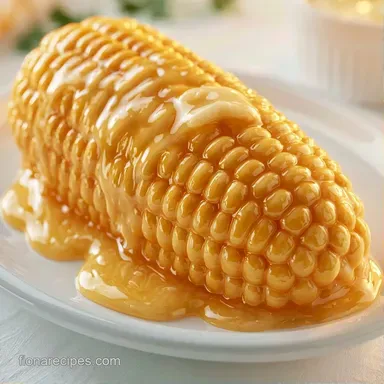
Best Corn on the Cob Boiled with Milk
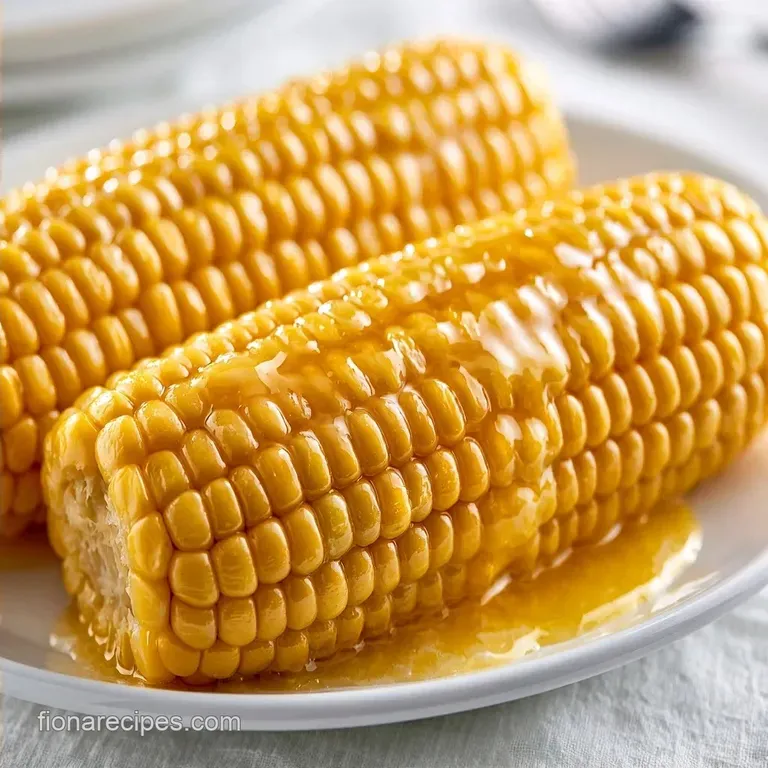
- Time: 10 min prep + 5 min cook
- Flavor/Texture Hook: Snappy, juicy kernels with a creamy finish
- Perfect for: Quick weeknight sides, summer BBQs, kid friendly dinners
Forget everything you heard about salting the boiling water. For years, I thought adding a handful of salt to the pot was the only way to season the corn from the inside out. It turns out that's a total myth.
Salt actually toughens the cell walls of the corn, which is why some boiled corn feels leathery or chewy instead of popping in your mouth.
I remember a summer dinner where I over salted the pot, and the corn came out tasting okay but felt like chewing on rubber bands. Since then, I've stuck to seasoning only at the very end. It makes a world of difference in the texture.
When you make the Best Corn On the Cob Boiled using a bit of milk and butter in the water, the corn stays juicy and the flavor is much richer. It's a simple shift that takes the side dish from "fine" to something people actually ask for the recipe for.
Best Corn On the Cob Boiled
No Salt in Water: Salt toughens the corn's skin, making it chewy instead of snappy. Milk and Butter: The fats bind to the natural sugars for a richer, creamier flavor.
If you're in a rush, my Boiled in 10 Minutes recipe method is a lifesaver for busy nights.
| Method | Time | Texture | Best For |
|---|---|---|---|
| Boiled | 5 mins | Juicy & Snappy | Family Dinners |
| Grilled | 15 mins | Smoky & Charred | Outdoor BBQs |
| Steamed | 7 mins | Very Tender | low-fat Options |
The key is keeping the heat high and the time short. If you let the corn sit in the water too long, you lose that fresh off-the stalk snap.
Why This Method Works
The combination of milk and butter creates a light emulsion that coats each kernel. This doesn't just add fat, it helps the heat penetrate the cob evenly without boiling away the sweetness.
By avoiding the salt during the boil, we protect the cellulose. This ensures the corn retains its structural integrity. You get that satisfying "pop" when you bite into a kernel, which is the hallmark of a great boil.
Choosing Your Ingredients
I usually go for the freshest sweet corn I can find at the farmer's market, but store-bought works just as well. The most important part is the milk. Whole milk provides the best fat content to balance the sweetness of the corn.
The unsalted butter in the pot is for the cooking process, while the salted butter is for the finish. Using salted butter at the end allows you to control exactly how much salt hits your tongue, rather than letting it soak into the corn and toughen it up.
Tools for the Job
You don't need anything fancy here, just a few basic kitchen staples. A large stockpot is a must. You want enough room so the corn can move around freely. If the pot is too crowded, the water temperature drops too fast when you add the corn, and you'll end up overcooking the outside before the center is done.
A pair of sturdy tongs is the only other essential. They allow you to lower the ears in and pull them out quickly without splashing boiling liquid on yourself.
The Cooking Process
Prepping the Ears
Remove the husks and all silk threads from the corn. Rinse the ears under cold water to get rid of any leftover debris. If your ears are too long for the pot, just snap them in half across the cob.
Making the Bath
Fill your stockpot with 8 cups of water, 1 cup of whole milk, and 4 tbsp of unsalted butter. Bring this mixture to a rolling boil over high heat. Stir in 1 tbsp of granulated sugar until it dissolves completely.
Timing the Boil
Carefully lower the corn into the boiling liquid using tongs. Once the water returns to a boil, set your timer. - Cook 3 minsuntil the kernels are bright yellow and have a crisp snap.
- Cook 5 minsuntil the kernels are slightly softer but still juicy.
Adding Final Touches
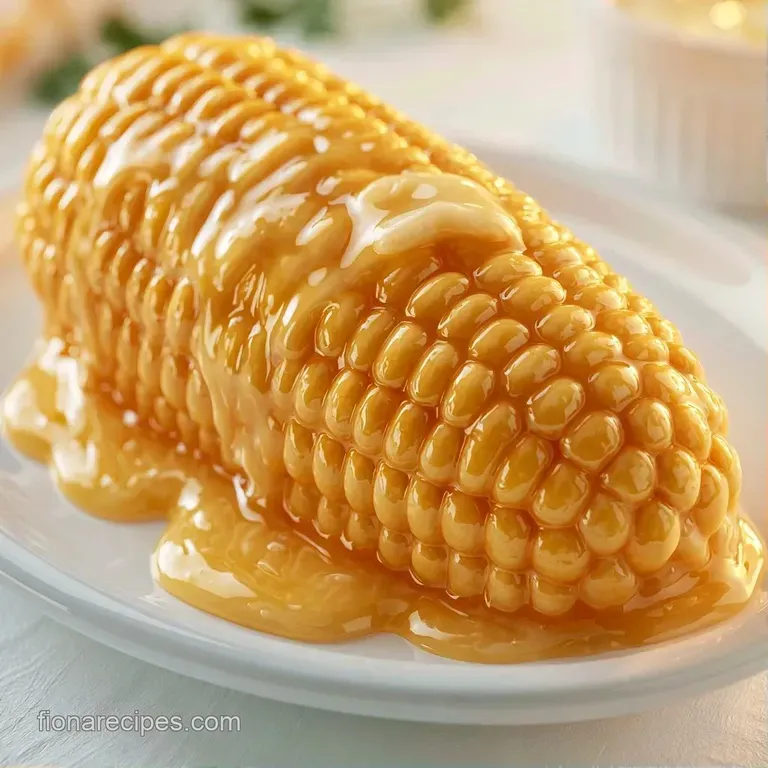
Remove the corn immediately with tongs and place it on a platter. While the ears are still steaming, rub 4 tbsp of softened salted butter over the kernels. Sprinkle with 1/2 tsp of coarse sea salt and 1/4 tsp of cracked black pepper.
| Original Ingredient | Substitute | Why It Works |
|---|---|---|
| Whole Milk (1 cup) | Coconut Milk (1 cup) | Similar fat content. Note: Adds a tropical, nutty flavor |
| Unsalted Butter (4 tbsp) | Vegetable Oil (3 tbsp) | Provides heat transfer. Note: Lacks the rich, creamy taste |
| Granulated Sugar (1 tbsp) | Honey (1 tbsp) | Natural sweetener. Note: Adds a slight floral note |
The butter melts almost instantly into the kernels, creating a silky coating that holds the salt and pepper in place.
Decision Shortcut
| Goal | What to change |
|---|---|
| More Crunch | Boil for 3 mins |
| Extra Richness | Use heavy cream instead of milk |
| Lower Sodium | Use unsalted butter for topping |
Fixing Common Problems
Stopping Rubbery Kernels
The most frequent issue is overcooking. Corn continues to cook for a minute after you take it out of the pot. If you leave it in for 7 or 10 minutes, the cell walls collapse and the texture becomes tough. Pull the ears out the second they reach that vibrant yellow color.
This is the most important part of making the Best Corn On the Cob Boiled.
Fixing Bland Corn
If the corn tastes flat, it's usually because the finishing salt wasn't applied while the corn was hot. Salt needs the heat and the melted butter to adhere to the kernel. If you let the corn cool down before seasoning, the salt just slides off the cob and piles up on the plate.
Managing Pot Overflow
Milk and butter can cause the water to foam up more than plain water would. If the pot starts to bubble over, simply slide the pot half an inch off the center of the burner or stir the foam down. Don't turn the heat down too much, or you'll lose the rolling boil needed for a quick cook.
Plating for the Table
I like to serve the corn on a large wooden board or a ceramic platter. It keeps the ears contained so they don't roll off the table. If you're serving a crowd, you can wrap each ear in a small piece of parchment paper or a corn husk to make them easier to grab.
For a more rustic look, leave the very bottom inch of the husk on. It acts like a natural handle, which is great for kids who don't want to get butter all over their hands.
Storage and Waste Tips
Keep leftover corn in a sealed bowl in the cooler for up to 3 days. To reheat, don't use the microwave if you can avoid it, as it can make the kernels chewy. Instead, drop the ears back into boiling water for 60 seconds just to warm them through.
You can freeze shucked corn, but it's better to cut the kernels off the cob first. Store them in freezer safe bags for up to 6 months.
Don't toss the cobs. I always throw them into my stock pot when making vegetable broth. They add a subtle sweetness and depth that you can't get from store-bought bases.
New Flavor Ideas
Adding Spicy Heat
For a kick, swap the black pepper for smoked paprika and a pinch of cayenne. This gives the corn a warm, earthy flavor that pairs well with grilled meats.
Making Vegan Corn
You can easily adapt this for vegans by using a plant based butter substitute and unsweetened almond or soy milk. The process stays the same, and you still get that creamy result. For those using frozen corn options, just add 2 minutes to the boil time.
Garlic Herb Twist
Mix a clove of minced garlic and some chopped parsley into your softening butter before rubbing it on the corn. It's a simple way to make the side dish feel a bit more intentional for a Sunday dinner.
The Best Corn On the Cob Boiled doesn't need to be complicated. By focusing on the temperature and avoiding the salt in-the pot trap, you get a side dish that's naturally sweet and perfectly snappy every single time.
Recipe FAQs
How do I boil corn for the best results?
Lower shucked ears into boiling water mixed with milk and butter for 3 to 5 minutes.
Tip: Use 3 minutes for a crisp bite and 5 minutes for softer kernels.
Is it true that boiling corn for 20 minutes makes it more tender?
This one's false: Overboiling makes the kernels tough and chewy.
Tip: Set a timer immediately once the water returns to a boil to avoid overcooking.
Should fresh corn be added to boiling water or cold water?
Add the ears only after the liquid reaches a rolling boil.
Tip: Ensure you include the milk and unsalted butter in the pot before boiling.
What can I add to the corn for more flavor?
Rub softened salted butter over the kernels while steaming hot and sprinkle with sea salt and black pepper.
Tip: Stir granulated sugar into the boiling water first to enhance the corn's natural sweetness.
Which dishes pair well with boiled corn?
Serve this alongside a hearty main like a tender meatloaf for a complete meal.
Tip: Keep leftover corn in a sealed bowl in the cooler for up to 3 days.
Best Boiled Corn On The Cob