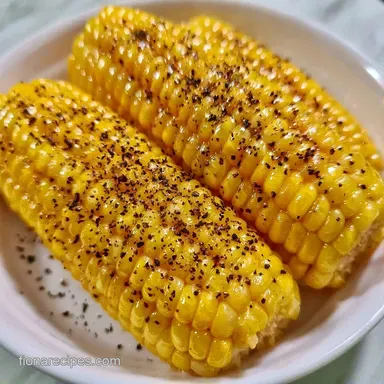
Corn on the Cob Boiled in 10 Minutes
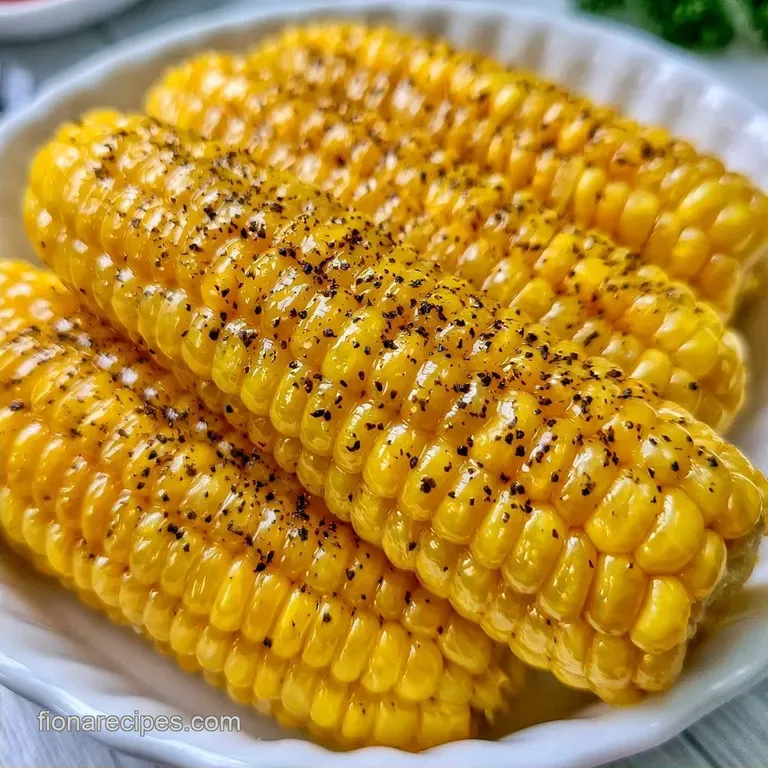
- Time: 5 min active + 5 min cook
- Flavor/Texture Hook: Snappy, translucent golden kernels
- Perfect for: Summer weeknight dinners
Corn On the Cob Boiled
The sound of a rolling boil and that sweet, grassy smell hitting the air is the real start of summer. For years, I thought adding a handful of salt to the pot was the right move to season the corn from the inside. I was wrong.
Every time I did that, the kernels felt slightly rubbery, like they had spent too much time in the heat.
It turns out that salt reacts with the corn skins, making them tighten up. When I stopped salting the water, the change was instant. The corn stayed plump and had that satisfying pop when you bite into it.
This is a straightforward, stress free way to get a side dish on the table in 10 minutes. We're focusing on speed and temperature to keep the corn from turning starchy.
Why No Salt Works
Skin Texture: Skipping salt prevents the cellulose in the skins from toughening, which keeps kernels tender. Sugar Retention: A short 5 minute boil stops the natural sugars from converting into starch, preserving the sweetness.
According to Serious Eats, overcooking corn can lead to a loss of that fresh, milky flavor we all love.
| Method | Time | Texture | Best For |
|---|---|---|---|
| Stovetop | 5 mins | Snappy | Quick weeknights |
| Oven | 25 mins | Roasted | Larger crowds |
Ingredient Deep Dive
I keep this list short because the corn does the heavy lifting here. Using fresh, seasonal ears makes a world of difference compared to frozen options.
What Each Ingredient Does
| Component | Purpose | Substitute Notes |
|---|---|---|
| Sweet Corn | Main base | Frozen corn: Steam instead of boil |
| Olive Oil | Fat for flavor | Butter: Richer taste, slightly heavier |
| Lemon Juice | Brightness | Lime juice: Adds a zesty, Mexican vibe |
| Black Pepper | Subtle heat | Paprika: Gives a smoky, reddish color |
Recipe Specs
You'll need these basics to get started. I recommend using filtered water to avoid any chlorine taste affecting the sweetness of the corn.
- 8 ears of fresh sweet corn
- 3.8 liters (4 quarts) filtered water
- 30 ml (2 tbsp) extra virgin olive oil
- 15 ml (1 tbsp) fresh lemon juice
- 1/2 tsp cracked black pepper
The Basic Gear
A large stockpot is a must. You need enough room for the corn to move freely without crowding, otherwise, the water temperature drops too much when you add the ears. I also use a pair of sturdy tongs to fish them out quickly.
Step by step Cooking
Right then, let's get into the flow. The goal here is to move quickly once the corn hits the water.
- Remove the husks and all remaining silk threads from the corn. Trim the stem end to create a flat base and rinse the ears under cold water to remove any lingering debris.
- Fill a large stockpot with water and bring it to a rolling boil over high heat.
- Gently lower the corn into the boiling water. Once the water returns to a boil, cook for 3 to 5 minutes until the kernels shift to a vibrant, translucent golden hue. Note: Don't walk away; it happens fast.
- Remove the corn immediately from the pot using tongs.
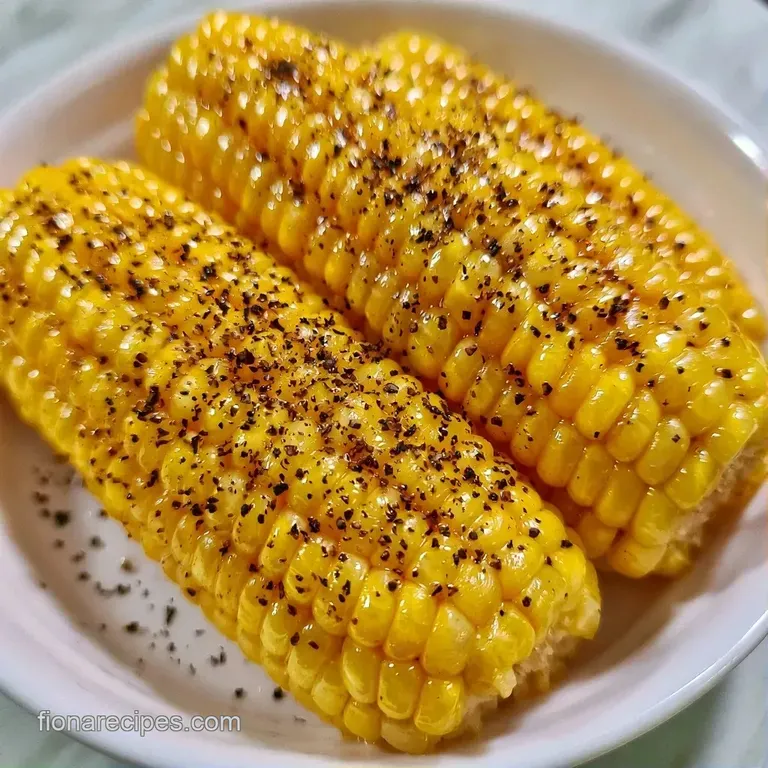
- While steaming hot, lightly brush each ear with extra virgin olive oil and a drizzle of lemon juice, then sprinkle with cracked black pepper.
Fixing Texture Issues
The biggest struggle people have is the timing. If you leave the corn in for 10 or 15 minutes, you'll lose that fresh snap and end up with something that feels more like canned corn.
Mushy Kernel Fix
This happens when the corn is overboiled. The cell walls break down too much, and the corn loses its structure. Stick to the 5 minute limit.
Tough Skin Fix
If the skins feel rubbery, you might have added salt to the water or used corn that is past its prime. Always shuck your corn the day you plan to eat it.
Freshness Check
Look for husks that are bright green and tacky to the touch. If the husk is dry or yellowed, the corn inside has likely started to convert its sugar to starch.
| Problem | Root Cause | Solution |
|---|---|---|
| Rubbery kernels | Added salt to water | Boil in unsalted water |
| Mushy texture | Overcooked | Limit boil to 5 minutes |
| Bland flavor | Low quality corn | Buy local, fresh sweet corn |
Scaling the Batch
If you're feeding a crowd, don't try to cram 20 ears into one pot. The water will take forever to return to a boil, and the corn at the bottom will overcook while the top stays raw.
- For 4 ears: Use half the water and a smaller pot to save energy.
- For 16 ears: Work in two batches. It takes a few extra minutes but ensures every ear is cooked evenly.
- For a firmer snap
- Boil for exactly 3 minutes.
- For a softer bite
- Extend to 5 minutes.
- For a richer finish
- Swap olive oil for melted salted butter.
| Premium Item | Budget Alternative | Impact | Savings |
|---|---|---|---|
| Extra Virgin Olive Oil | Vegetable Oil | Less flavor, same moisture | Moderate |
| Fresh Lemon | Bottled Juice | Slightly more acidic/sharp | Small |
| Organic Corn | Conventional Corn | Minimal taste difference | Moderate |
Storage and Waste
If you have leftovers, let them cool completely before putting them in a container. They stay good in the fridge for 3 days. To reheat, I suggest a quick steam or a few minutes in a pan with a bit of butter. Avoid the microwave if you can, as it often makes the kernels shrivel.
For the freezer, cut the kernels off the cob first. Flash freeze them on a tray for an hour before bagging them to prevent them from clumping.
Don't toss those cobs! I throw the leftover bare cobs into my veggie stock pot. They add a lovely, sweet depth to the broth that you can't get from carrots and celery alone.
Serving Suggestions
This is a classic side that goes with almost anything. It pairs great with a Classic Cobb Salad for a light, fresh summer lunch.
I like to serve it on a large wooden platter with extra lemon wedges on the side. If you're doing a barbecue, keep the corn wrapped in foil for 5 minutes after brushing with oil to keep them hot.
Fun Flavor Swaps
Once you have the boiling part down, you can play with the toppings. I often swap the lemon and oil for something a bit more bold.
Light Mexican Style
Brush with a mix of mayo and lime juice, then sprinkle with cotija cheese and chili powder. This is a lighter version of elote that still hits those savory notes.
Garlic and Herb
Whisk some minced garlic and chopped parsley into your olive oil before brushing. It adds a punchy, aromatic quality to the sweetness of the corn.
Low Sodium Twist
If you need to avoid salt, use a dash of smoked paprika or a sprinkle of nutritional yeast. It gives a savory, cheesy flavor without the sodium. This is a great side for Easy Beef Tacos if you want a corn based accompaniment.
Recipe FAQs
How to boil fresh corn on the cob?
Lower the ears into rolling boiling water and cook for 3 to 5 minutes.
Tip: Watch for the kernels to shift to a vibrant, translucent golden hue.
Is it true that corn requires 20 minutes of boiling to be tender?
False. Boiling for that length of time results in tough, overcooked kernels.
Tip: Quick cooking preserves the natural sweetness and snap of the vegetable.
Do you start the corn in cold or boiling water?
Wait until the water is at a rolling boil before adding the corn.
Tip: Use a large stockpot to ensure the water temperature doesn't drop too significantly.
What seasonings enhance boiled corn?
Brush with extra virgin olive oil and lemon juice, then finish with cracked black pepper.
Tip: This bright flavor profile pairs well with a savory dish like turkey chili.
Boiled Corn On The Cob