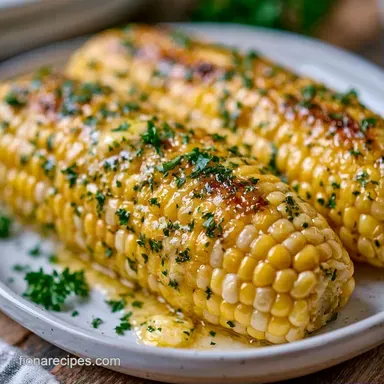
Perfect Boiled Corn on the Cob in 10 Minutes
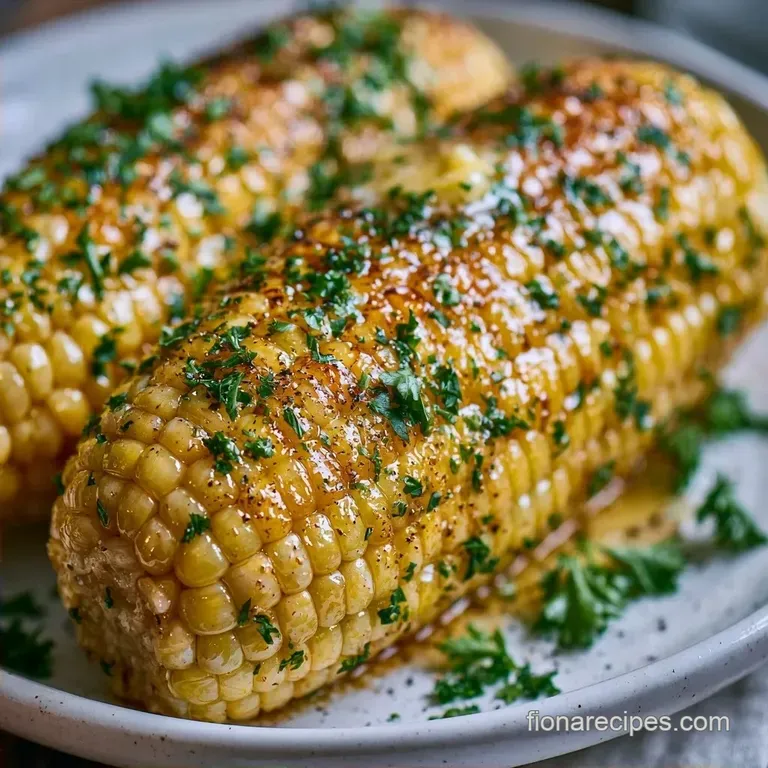
- Time: 5 min active + 5 min cooking
- Flavor/Texture Hook: Bright yellow kernels with a satisfying pop
- Perfect for: Family barbecues or a simple weeknight side
Perfect Boiled Corn on the Cob
The smell of a huge pot of water hitting a rolling boil is the official scent of July for me. In many parts of the US, corn on the cob isn't just a side dish, it's a tradition. I remember my grandmother insisting that the corn had to be bought from the roadside stand that morning, or it simply didn't count.
There is something about that ritual of shucking a pile of ears on the porch that makes the meal taste better.
Most of us grew up seeing people throw sugar or heaps of salt into the boiling water. We thought it added flavor. In reality, it often just messed with the texture. I spent a few summers trying different ways to get that specific "snap" you find at the best county fairs.
This approach focuses on the natural sweetness of the vegetable. You don't need anything fancy to make the Perfect Boiled Corn on the Cob. You just need fresh ears and a very tight window of cooking time.
Why This Method Works
No Salt in Water: Salt pulls moisture out of the kernels, which can make them tough. Leaving it out keeps the kernels plump.
Flash Boiling: Cooking for just a few minutes prevents the starches from turning mushy. This keeps the "pop" when you bite in.
| Fresh Corn | Shortcut (Frozen/Canned) | Texture Difference | Best Use |
|---|---|---|---|
| Fresh Ears | Frozen Kernels | Fresh has more snap | Summer meals |
| Fresh Ears | Canned Corn | Canned is softer | Soups or salads |
| Fresh Ears | Pre shucked bags | Bagged loses sugar fast | Quick weeknights |
What Each Ingredient Does
| Ingredient | What It Does | Best Swap |
|---|---|---|
| Fresh Sweet Corn | Provides the base flavor | Frozen corn (thawed) |
| Unsalted Butter | Adds richness and shine | Olive oil or vegan butter |
| Sea Salt | Enhances natural sugars | Kosher salt |
| Fresh Parsley | Adds a grassy, fresh note | Chives or cilantro |
The Main Components
- 4 ears fresh sweet corn, shucked Why this? Freshness determines the sugar content.
- 3.8 liters (1 gallon) filtered water Why this? Avoids chlorine taste in the corn.
- 1 tbsp unsalted grass fed butter, softened Why this? Higher fat content for better flavor.
- 1/4 tsp fine sea salt
- 1/4 tsp freshly cracked black pepper
- 1 tbsp fresh parsley, finely chopped
Simple Swaps
If you don't have grass fed butter, regular salted butter works fine, just cut the salt you sprinkle on at the end. For a dairy-free version, use a high-quality vegan butter or even a drizzle of melted coconut oil. If parsley isn't your thing, cilantro adds a great zing, especially if you're serving this with tacos.
The Cooking Details
This is a fast process, but the timing is everything. If you leave the corn in for ten minutes, you've gone too far.
- Prep time: 5 minutes
- Cook time: 5 minutes
- Total time: 10 minutes
- Yield: 4 servings
Precision Checkpoints
- Water State: The water must be a "rolling boil," meaning it doesn't stop bubbling when you stir it.
- Color Shift: The kernels should change from a pale yellow to a bright, vibrant yellow.
- The Timer: Set your timer for 3 minutes the moment the water returns to a boil.
Tools for the Job
This recipe is straightforward and doesn't require specialized equipment. A few standard kitchen tools will make the process safer and more efficient.
- Large Stockpot: Ensure there is plenty of room for the water to circulate around the corn, as overcrowding can cause the water temperature to drop too sharply.
- Tongs: Use these to lower the corn into the pot. Avoid using your hands or a fork to protect yourself from splashes of boiling water.
- Colander: A large strainer is key for draining the water immediately so the corn stops cooking the moment it leaves the pot.
- Small Bowl: For softening your butter and stirring in parsley if you're making a compound butter.
Step by step Guide
Phase 1: The Prep
- Shuck the corn. Pull back the husks and use your fingers to rub away all the silk threads. Note: Leaving silk on can make the corn look messy.
- Check for stray husks. Make sure no small pieces of green leaf are clinging to the base.
- Boil the water. Fill your stockpot with 3.8 liters of water and heat on high until it reaches a rolling boil.
Phase 2: The Flash Boil
- Add the corn. Carefully lower each ear into the pot using tongs.
- Wait for the recovery. The water will stop boiling for a moment. Wait until the water bubbles aggressively again.
- Start the timer. Boil for exactly 3 to 5 minutes.
- Monitor the color. Remove the corn once the kernels look bright yellow and smell sweet.
Phase 3: The Finishing Touch
- Drain immediately. Move the corn to a colander to stop the cooking process.
- Apply butter. While the corn is still steaming, rub the softened butter across the kernels.
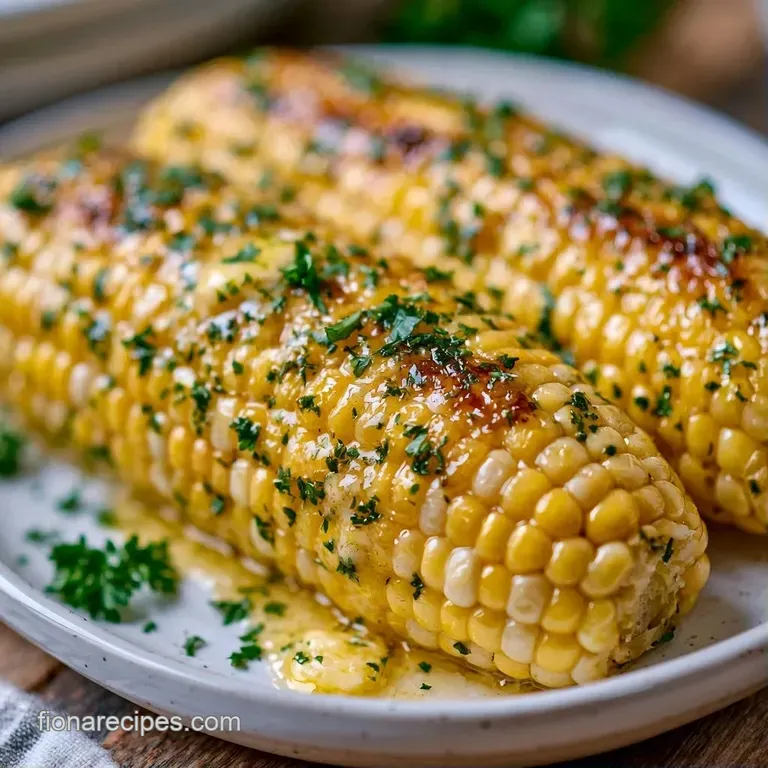
- Season. Sprinkle with sea salt, black pepper, and the chopped parsley.
Chef's Note: If you're cooking for a crowd, do it in batches. If you cram 12 ears into one pot, the water will take too long to return to a boil, and the first few ears will overcook.
Fixing Common Issues
The Rubbery Kernel
This happens when corn stays in the water for too long. Once the starch over gelatinizes, the "pop" disappears and you get a chewy, rubbery texture. Stick to the 5 minute limit. If you're cooking in batches, pull the first set out as soon as they are done.
Water Temperature Drop
If your water takes five minutes to start boiling again after you add the corn, your pot might be too small or your burner too weak. Use a larger pot with more water to maintain the heat. This ensures the corn cooks quickly and stays crisp.
Dull Color
Corn that looks pale usually means it was undercooked or the corn itself wasn't very fresh. If the timer is up but the color is dull, give it one more minute. However, if you bought the corn days ago, the sugars may have already turned to starch, which affects the color and taste.
Storage and Scrap Tips
Refrigeration
You can keep boiled corn in the fridge for about 3 days. Store the ears whole or cut the kernels off the cob and put them in a sealed container. When you're ready to eat, a quick 30 second microwave burst or a flash in a hot pan brings back the texture.
Freezing
For long term storage, cut the kernels off the cob. Blanch them in boiling water for 2 minutes, then plunge them into ice water. Pat them dry and freeze them in a single layer on a tray before moving them to a bag. This stops them from clumping.
Husk Utility
Don't just toss the husks in the trash. If you have a compost bin, they are gold. If not, some people use the clean, outer husks as a natural wrap for grilling other vegetables. I've used them to wrap jalapeños for a smoky, charred side.
Great Side Dish Pairings
This recipe is a blank canvas that fits almost any summer menu. Because the corn is so buttery and sweet, it balances well with acidic or salty flavors.
For a full spread, I highly recommend pairing this with a Classic Cobb Salad. The crisp lettuce and tangy dressing cut through the richness of the buttered corn. If you're doing a party platter, Classic Deviled Eggs provide a creamy contrast that kids and adults both love.
If you're grilling meats, this is the only side you really need. It goes perfectly with a smoky brisket or a simple grilled chicken breast.
Easy Flavor Twists
While salt and pepper are the go-to choices, you can easily shift the flavor profile with a few simple tweaks.
The Zesty Lime Replace the butter with a blend of melted butter and lime juice. Stir in a pinch of chili powder to achieve a "street corn" taste without the hassle of roasting.
The Garlic Herb Infusion Mix one minced garlic clove and fresh parsley into your softened butter. This creates a savory richness that gives the corn a professional, restaurant style quality.
The Vegan Swap Opt for a plant based butter substitute or refined coconut oil. Since the corn itself provides the bulk of the flavor, the difference is hardly noticeable.
The Low Sodium Twist Omit the salt entirely and use a squeeze of fresh lemon juice instead. The acidity tricks your palate into perceiving a saltier taste than is actually present.
Decision Shortcut
- Extra zing? $
to$ add 1 tsp lime zest - More savory? $
to$ add 1/2 tsp garlic powder - Spicy kick? $
to$ sprinkle 1/4 tsp cayenne
Debunking Corn Myths
Many believe that adding sugar to the boiling water makes the corn sweeter, but this is a myth. Sugar cannot be absorbed into the kernels through the water. If your corn isn't sweet, it is likely because the ears are old or you aren't using a "sweet corn" hybrid.
Another common misconception is boiling corn inside its husk. While some claim this enhances flavor, the husk actually acts as a barrier that prevents heat from reaching the kernels evenly. Shucking first is the only way to guarantee a consistent, snappy texture.
You are now all set to prepare the Perfect Boiled Corn on the Cob. It is a straightforward dish, but getting the timing exactly right makes it the star of the meal. Let's get that water boiling!
Recipe FAQs
When is boiled corn officially done?
When kernels turn a bright, vibrant yellow. This typically occurs after boiling for exactly 3 to 5 minutes.
Should I start fresh corn in boiling or cold water?
Use boiling water. Carefully lower the shucked ears into a rolling boil to ensure the kernels stay crisp and sweet.
Is it true that boiling corn for 20 minutes makes it more tender?
Surprisingly, no. Boiling for that long toughens the kernels and destroys the natural flavor.
How do I cook fresh corn on the cob?
Shuck the ears and remove all silk. Boil for 3 to 5 minutes, then rub with softened butter and garnish with sea salt, black pepper, and fresh parsley.
What can I add to corn on the cob for more flavor?
Apply softened butter and a sprinkle of sea salt and black pepper. This simple side pairs perfectly with a hearty beef chili.
Perfect Boiled Corn On The Cob