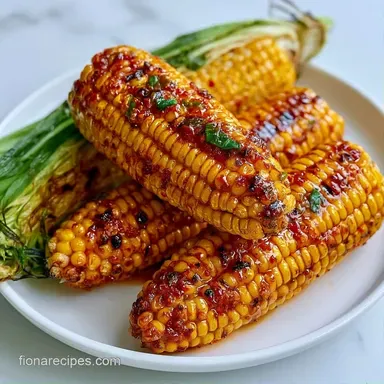
Grilled Corn on the Cob in the Husk
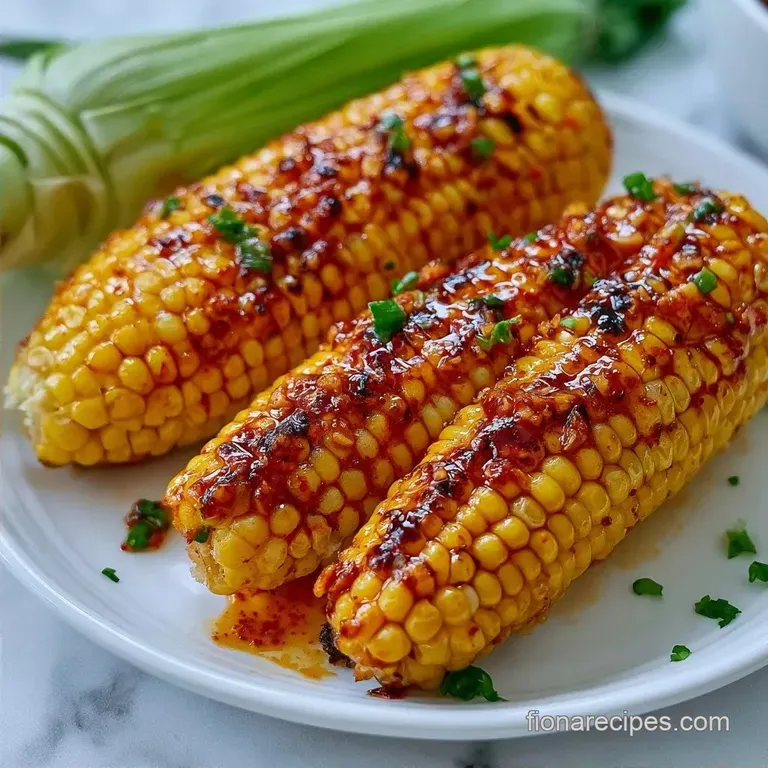
- Time: 15 min active + 20 min grill
- Flavor/Texture Hook: Smoky charred husks with a rich, buttery finish
- Perfect for: Family backyard dinners or easy weeknight sides
The smell of charred husks and bubbling butter always takes me back to the first summer I actually got the grill right. For years, I thought you had to boil corn first to make sure it was cooked, but all that did was wash away the natural sweetness and leave me with soggy kernels.
One afternoon, a neighbor showed me how to just soak the whole thing and toss it on the heat.
Right then, everything changed. You get this specific snap when you bite into the kernel, and the smoky aroma is something you just can't get from a pot of water. This is the perfect recipe for Grilled Corn On the Cob in Husk with Garlic Butter.
It's a stress free way to feed the family without spending the whole evening hovering over the grates. You'll get a result that's hearty and kid approved, with just enough char to make it feel like a real BBQ treat.
How to Actually Nail This
- Hydrated Husks: Soaking the corn prevents the outer leaves from catching fire too quickly. This allows the water to turn into steam inside the husk, cooking the kernels gently.
- Thermal Barrier: The husk protects the corn from direct flames. This prevents the kernels from drying out or scorching before they are fully tender.
| Method | Time | Texture | Best For |
|---|---|---|---|
| Husk On | 20 min | Plump & Juicy | Maximum flavor |
| Shucked | 10 min | Charred & Toasty | Quick sides |
| Pre Boiled | 30 min | Soft & Wet | Mixed grills |
But what about the flavor? Since the corn steams in its own skin, the sugars concentrate, making it taste naturally sweeter. This creates a great base for the garlic butter to cling to once you peel it back.
Tools for the Job
You don't need much here, just the basics. A large basin or a clean sink works for the soaking phase. You'll want a pair of long grill tongs so you aren't getting too close to the heat when rotating the ears.
For the butter, a small bowl and a whisk or fork will do. If you have a silicone pastry brush, it makes applying the garlic butter much cleaner, but a spoon works just as well. Just make sure your grill has a lid, as trapping that heat helps the steaming process.
Ingredient Deep Dive
| Ingredient | Role | If You Don't Have It |
|---|---|---|
| Sweet Corn | Main base | Frozen corn (but texture changes) |
| Unsalted Butter | Richness | Salted butter (reduce added salt) |
| Garlic | Pungent depth | Garlic powder (use 1/2 tsp) |
| Lime Juice | Acid balance | Lemon juice |
For the best results, get the freshest corn you can find. According to USDA FoodData, the sugar content in corn starts to drop the moment it's picked, so local farm stands are your best bet.
Recipe Specs
- 4 ears of sweet corn
- 2 tbsp coarse sea salt Why this? Helps draw moisture into the husks
- 1/2 cup unsalted butter, softened Why this? Easier to mix with spices
- 3 cloves garlic, finely minced Why this? Fresh garlic has a sharper bite
- 1/2 tsp smoked paprika Why this? Adds a woody, campfire depth
- 1/2 tsp kosher salt Why this? Dissolves quickly in butter
- 1/4 tsp cracked black pepper Why this? Provides a subtle heat
- 1 tbsp fresh lime juice Why this? Cuts through the heavy fat
If you're looking for something a bit different, you might try an Air Fryer Corn approach for a faster weeknight version.
From Prep to Plate
Phase 1: The Hydration Prep
- Fill a large basin with cold water and stir in the coarse sea salt.
- Submerge the corn (husks on) in the water for 15 to 30 minutes. Note: This stops the husks from burning instantly
- Remove corn from water and gently shake off excess moisture.
Phase 2: The Precision Grill
- Preheat the grill to medium heat (approximately 400°F / 200°C).
- Place the soaked corn directly on the grates.
- Grill for 16–20 minutes, rotating the ears every 5 minutes until husks are charred and blackened.
Phase 3: The Finishing Touch
- Remove corn from the grill and let it rest for 5 minutes. Note: This lets the steam finish the center
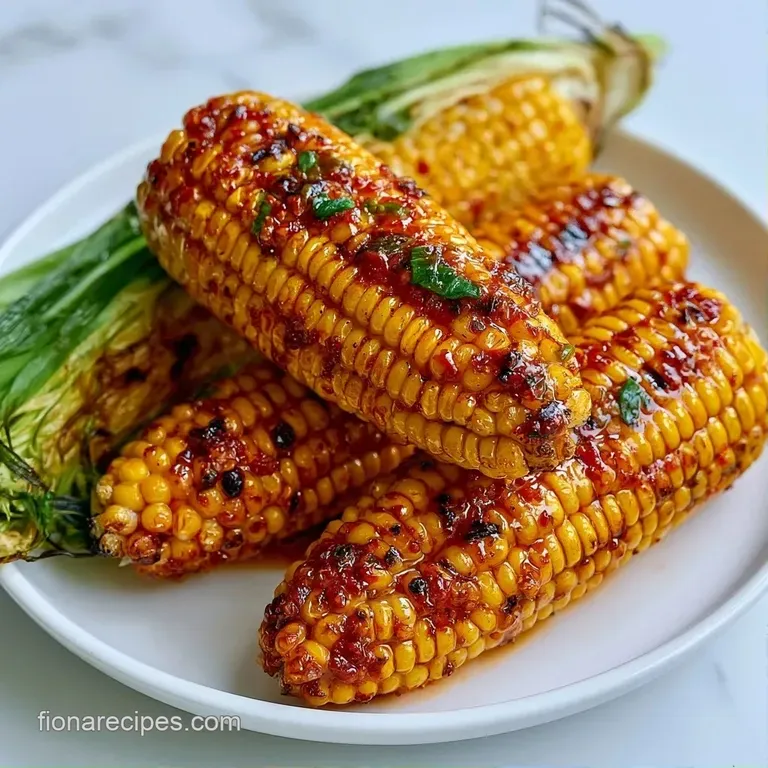
- Carefully peel back the husks and pull away the silk.
- Brush the hot kernels generously with the mixture of softened butter, minced garlic, smoked paprika, kosher salt, black pepper, and lime juice.
Pro Tips & Pitfalls
Getting the heat right is the most common struggle. If your grill is too hot, the husks turn to ash before the kernels are tender. I once burnt a whole batch because I was impatient with the preheat. If you see massive flames, just move the corn to the edges of the grill.
Another annoying part is the silk. If you peel the corn while it's too cold, the silk clings. Peeling it while it's hot makes the silk slide right off. Trust me on this, the 5 minute rest is not optional.
Fixing Burnt Husks
If the outside is black but the corn feels soft and undercooked, move them to indirect heat and close the lid for another 5 minutes.
Handling Stubborn Silk
Pull the husks down from the top. If the silk stays, a quick rub with a clean kitchen towel usually clears it.
Managing Flare ups
Avoid using too much oil on the grates. If flames jump up, rotate the corn immediately to avoid "hot spots" on the kernels.
| Problem | Root Cause | Solution |
|---|---|---|
| Kernels are tough | Under soaked or too short grill time | Soak 30 mins, grill longer |
| Burnt outer leaves | Heat too high | Move to indirect heat zone |
| Butter isn't sticking | Corn cooled down too much | Brush immediately after peeling |
If you don't have a grill at all, you can always go with Boiled Fresh Corn for a simpler method.
Freezing and Reheating Guide
Leftover Corn On the Cob in Husk with Garlic Butter keeps well in the fridge for about 3 days. Wrap each ear tightly in foil or put them in a sealed container. To reheat, just pop them back on the grill for 3-5 minutes or use a toaster oven at 350°F (180°C).
For long term storage, you can freeze grilled corn. Cut the kernels off the cob first. Spread them on a baking sheet to freeze individually, then toss them into a freezer bag. They last up to 3 months. You can throw these frozen kernels directly into a corn chowder or a summer salad.
To avoid waste, don't toss the husks if you have a compost bin. If you're making a larger meal, save the leftover garlic butter for sautéing shrimp or tossing with pasta.
Flavor Variations to Try
The garlic butter base is great, but you can easily pivot. For a creamy garlic butter corn on the cob, stir in a tablespoon of mayonnaise or sour cream to the butter mixture. It gives it a rich, tangy coat that's very addictive.
If you want something with a kick, add a pinch of cayenne pepper or some diced jalapeños to the butter. For a garlic butter parmesan corn on the cob, sprinkle finely grated Parmesan over the kernels right after you brush on the butter.
You can also try a BBQ butter for corn on the cob by mixing in a teaspoon of your favorite smoky BBQ sauce. This is especially good if you're serving the corn alongside ribs or brisket.
| Goal | Change | Impact |
|---|---|---|
| For more heat | Add 1/4 tsp cayenne | Spicy kick |
| For a cheesy finish | Add 2 tbsp Parmesan | Salty, nutty crust |
| For a vegan version | Use plant based butter | Similar richness |
Perfect Complements
This Grilled Corn on the Cob is a perfect match for other charred summer favorites. It’s a classic pairing for grilled chicken or burgers, where the lime in the butter helps balance the richness of the meat.
For a lighter alternative, serve it with a crisp feta and watermelon salad; the corn's sweetness and the cheese's saltiness create a wonderful contrast. If you're preparing a larger spread, a vinegar based coleslaw is a better choice than a creamy one, as the corn is already quite buttery.
You're now ready to get the grill started. Just remember to soak the husks, maintain medium heat, and definitely use the garlic butter. Enjoy your dinner!
Recipe FAQs
What is the total grill time for corn with husks?
16 to 20 minutes over medium heat. Rotate the ears every 5 minutes until the husks are charred.
Do you put butter on corn before or after grilling?
Apply the butter after grilling. Brush the hot kernels with the garlic butter mixture once you have peeled back the husks.
How to grill corn with husks?
Submerge the corn in salted water for 15 to 30 minutes first. Place the soaked ears on a 400°F grill and rotate every 5 minutes for about 20 minutes.
Is it true you must boil corn before grilling it?
No, and here's why. Soaking the husks creates steam that cooks the kernels perfectly while locking in natural sweetness.
Which is better: grilling with or without husks?
Husks are better for juicy kernels. Grilling with the skin on steams the corn, though some prefer the consistency of boiled corn for a softer bite.
Can you just throw corn on the grill without soaking?
No, this is a common misconception. Without soaking, the husks will catch fire too quickly and burn before the kernels are cooked through.
Grilled Corn On The Cob 2