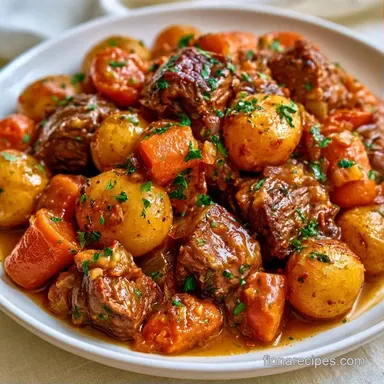
Tender Pot Roast Gluten Free
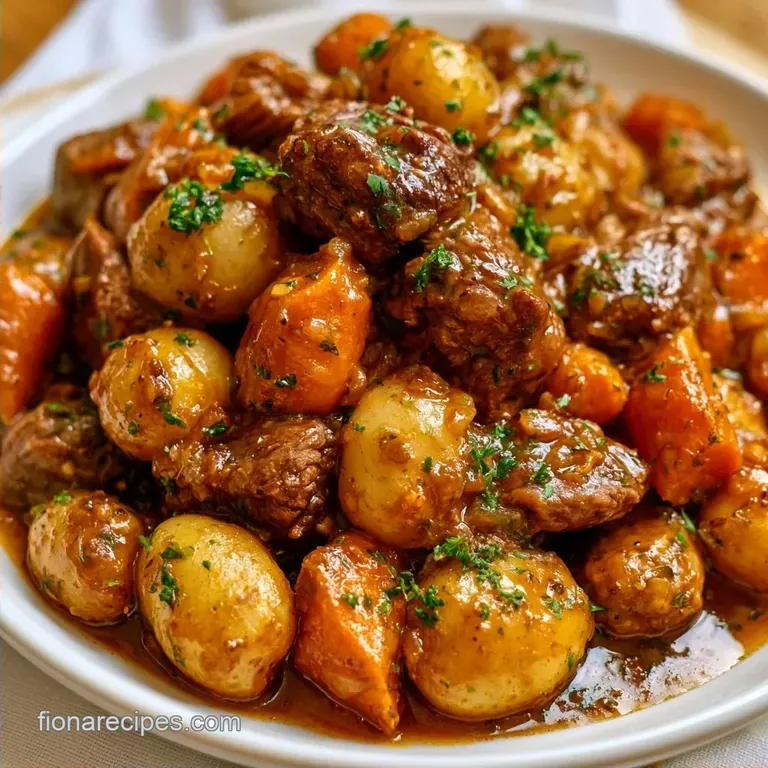
- Time: 20 min active + 6 hrs cooking
- Flavor/Texture Hook: Deep mahogany crust with a silky gravy
- Perfect for: Sunday family dinners or easy meal prep
Right then, let's talk about the Sunday roast. For a lot of us, this dish is the heart of a family home. It's that smell that fills every room by 2 PM, signaling that the week is finally winding down.
Growing up, my grandmother's kitchen always had a heavy pot simmering on the stove, and that aroma of slow cooked beef and carrots is basically the smell of comfort to me.
But finding a version that works for everyone can be a pain. Most people just throw everything in a slow cooker and hope for the best, but that often leaves the meat looking gray and tasting boiled. I've spent way too many Sundays pulling out a roast that had the texture of a wet sponge.
The key to a great Pot Roast gluten free is patience with the sear and the right cut of meat. We're going to use a few simple tricks to get a rich, dark gravy without using a drop of wheat flour. It's straightforward, hearty, and exactly what you want on a rainy afternoon.
The Reason For The Sear
Browning is where the real flavor is developed. By searing the beef at high heat, you create a caramelized crust that adds a savory depth that simmering alone cannot provide. Testing by Serious Eats confirms that this initial sear is what distinguishes a bland roast from a truly exceptional one.
The Braising Liquid: A blend of beef broth and apple cider vinegar works to break down the tough connective tissues in the chuck roast. This turns an affordable cut of meat into something that melts in your mouth. For a different variation, you can try an onion soup mix version for extra savoriness.
The Thickener: Cornstarch is the star here. It gives the gravy a glossy finish and avoids the grainy texture often associated with other gluten-free flour options.
| Method | Time | Texture | Best For |
|---|---|---|---|
| Slow Cooker | 6 hours | Extremely tender | Hands off cooking |
| Dutch Oven | 3 hours | Hearty and rich | Faster turnaround |
| Stovetop | 4 hours | Soft and juicy | Low equipment setups |
Believe me, those extra ten minutes spent searing the meat is what transforms a meal from just "okay" into one that your kids will beg for again.
The Ingredient Lineup
| Ingredient | Purpose | Alternative |
|---|---|---|
| Beef Chuck Roast | Delivers flavor and fat | Bottom round (leaner) |
| GF Beef Broth | Serves as the braising liquid | Beef stock + water |
| Cornstarch | Thickens the gravy | Arrowroot powder |
| Apple Cider Vinegar | Offsets the richness | Red wine vinegar |
Pick up a 3 lb beef chuck roast. I suggest steering clear of leaner cuts like sirloin for this dish, as the fat and collagen in the chuck are necessary to withstand the long simmering time.
The Produce and Pantry:
- 2 tbsp avocado oilWhy this? It remains stable at high heat
- 1 large yellow onion, cut into thick wedges
- 4 large carrots, 2 inch chunksWhy this? Stops them from becoming mushy
- 1.5 lb baby potatoes, halved
- 4 cloves garlic, smashed
- 1 tbsp tomato paste
- 2 cups gluten-free beef broth
- 1 tbsp apple cider vinegar
- 2 sprigs fresh rosemary
- 3 sprigs fresh thyme
- 1 tsp kosher salt
- 1/2 tsp cracked black pepper
- 2 tbsp cornstarch
- 3 tbsp cold water
Necessary Kitchen Gear
You only need basic equipment for this recipe. A heavy skillet for the sear and either a Dutch oven or a slow cooker will work perfectly. I lean toward a cast iron Dutch oven for its consistent heat, but the slow cooker is incredibly convenient on hectic workdays.
Stick with a stainless steel or cast iron skillet. Non-stick cookware prevents the meat from browning deeply and won't create the "fond" (those tasty brown bits) that gives the gravy its flavor.
The Cooking Process
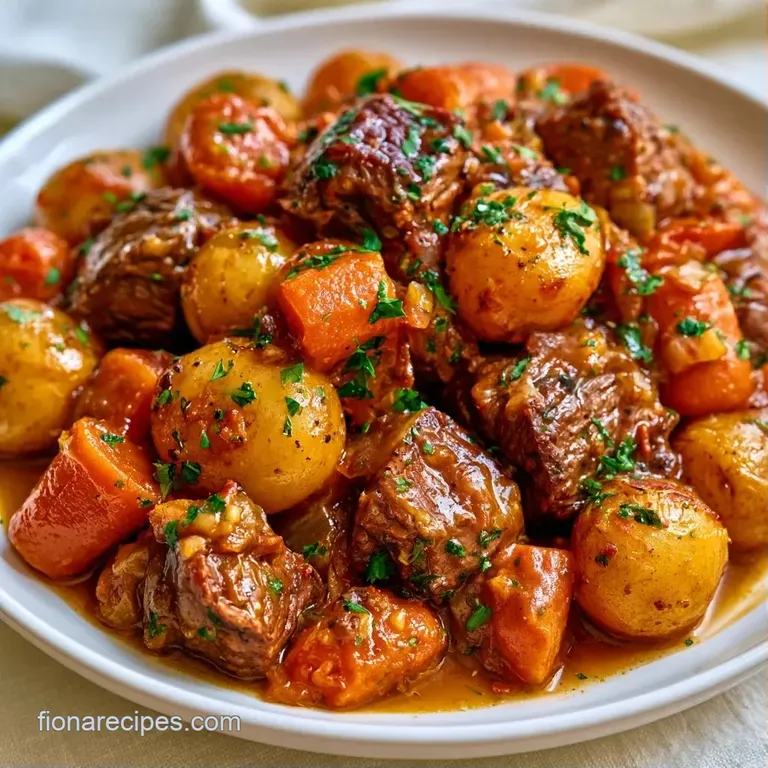
The Searing Phase
- Generously coat all sides of the beef with kosher salt and cracked black pepper. Use plenty of salt to ensure it thoroughly seasons the meat.
- Warm avocado oil in a pan over medium high heat until shimmering. Brown the beef for 5-7 minutes per side until a dark, rich crust develops. Transfer the meat to a plate.
- Using the same pan, cook the onion wedges and smashed garlic for 3 minutes. Mix in the tomato paste and cook for 1 minute until it turns a dark brick red.
- Add the apple cider vinegar, using a wooden spoon to scrape up the browned bits from the bottom of the pan.
The Slow Braise
- Layer the halved baby potatoes and carrot chunks in the bottom of your Dutch oven or slow cooker.
- Nestle the seared beef atop the vegetables. Pour in the beef broth and the liquid from the pan.
- Arrange the thyme and rosemary sprigs around the meat.
- Cover and cook on low for 6 hours in a slow cooker, or for 3 hours in a Dutch oven set to 325°F. The beef is done when it yields easily to a fork.
The Gravy Finish
- Lift the beef and vegetables out of the pot and arrange them on a platter.
- Combine cornstarch and cold water in a small bowl. Slowly whisk this mixture into the cooking liquid over medium heat until the gravy is glossy and thickened.
Chef Note: If the gravy is too thick, just whisk in a splash more broth. If it's too thin, let it simmer for another 3 minutes.
Fixing Common Roast Issues
Tough Meat Fix
If the meat is still tough after 6 hours, it usually means the connective tissue hasn't fully broken down. Put it back in for another 30-60 minutes. Beef is funny that way- it goes from "tough" to "falling apart" in a very short window.
USDA guidance suggests an internal temperature of 145°F for safety, but for a Pot Roast gluten free, you want it closer to 200°F for that melt in-your mouth feel.
Runny Gravy Fix
When the gravy stays watery, it's often because the cornstarch wasn't mixed with cold water first. If you add cornstarch directly to hot liquid, it clumps. To fix a runny sauce, make a fresh slurry (1 tsp cornstarch to 1 tbsp water) and whisk it in slowly while the liquid is simmering.
The Cornstarch Clump
If you see little white dots of flour in your sauce, don't panic. You can strain the gravy through a fine mesh sieve before pouring it back over the meat. To avoid this next time, make sure the water for your slurry is ice cold.
Different Cooking Options
For those who love a different vibe, you can easily tweak this. If you're in a rush, the one pot Dutch oven method is the way to go. It gives you that oven-roasted flavor in half the time of a slow cooker.
For different goals:
- For a tangier flavor: add 1 tbsp of Worcestershire sauce (verify it's GF).
- For softer vegetables: cut carrots into 1 inch rounds instead of 2 inch chunks.
- For a deeper color: add a teaspoon of molasses to the braising liquid.
Dietary swaps: - For a dairy-free version: this recipe is already dairy-free. - For a paleo version: swap the cornstarch for arrowroot powder.
Saving And Reheating Guide
This gluten-free pot roast actually improves with time. The flavors deepen, and the beef absorbs more of the savory liquid. Keep the meat and vegetables chilled in a closed container for up to 4 days.
Freezing the roast: You can store the cooked beef and gravy in the freezer for up to 3 months. I suggest freezing them together in a freezer bag to maintain moisture. Thaw in the refrigerator overnight before reheating.
The Perfect Reheat: Skip the microwave to avoid rubbery beef. Instead, combine the roast and gravy in a small pot over low heat with a splash of water. Keep it covered and warm slowly for about 15 minutes.
Zero Waste Tips: Don't waste any remaining braising liquid; it's full of flavor. Try using it as a foundation for beef stew or stirring it into risotto for a savory depth. For the leftover bones, simmer them with a carrot and an onion for 12 hours to make homemade bone broth.
The Best Side Pairings
Since the potatoes and carrots are already integrated, adding a few sides transforms this into a full feast. A fresh green salad with lemon vinaigrette balances the richness of the beef, or you could try steamed green beans with a hint of lime for a pop of color.
For a more substantial meal, I recommend serving this over creamy polenta or a bed of mashed cauliflower. To keep everything gluten-free, a side of honey glazed roasted Brussels sprouts is a wonderful addition.
The "Better Than The Bistro" look is all about the plating. Slice the beef against the grain for tenderness, place the vegetables to the side, and spoon plenty of gravy over the meat. A touch of fresh parsley on top gives it a professional, polished appearance.
And there you have it a gluten free Pot Roast that tastes like a true home cooked meal. It's honest, simple food that doesn't need a gourmet kitchen, just a little time and a great sear. Trust me, once you start browning the meat properly, you'll never go back.
Recipe FAQs
Are pot roasts gluten free?
Yes, provided you avoid wheat based thickeners. Most traditional recipes use flour for the gravy, but substituting cornstarch and using certified gluten-free beef broth makes this dish safe.
How do I cook a gluten-free pot roast in a crockpot?
Sear the beef in a skillet first to build a mahogany crust, then place it atop carrots and potatoes in the slow cooker. Pour in the beef broth and deglazing liquid, then cook on low for 6 hours.
Is it true that pot roast must be thickened with flour to taste authentic?
That's a myth. A cornstarch slurry creates a glossy, rich gravy that tastes just as traditional without the gluten.
What pot roast seasoning is gluten free?
Stick to single ingredient spices like kosher salt and cracked black pepper. Avoid pre-mixed packets that often contain wheat fillers or hidden starches.
Why is searing the meat necessary for the flavor?
Searing creates a Maillard reaction that adds savory depth to the final dish. If you enjoyed mastering the browning technique here, see how the same principle works in our chicken noodle soup.
Pot Roast gluten free for 6 Servings