Homemade Pizza Dough: Crispy and Chewy
- Time: Active 15 minutes, Passive 37 minutes, Total 52 minutes
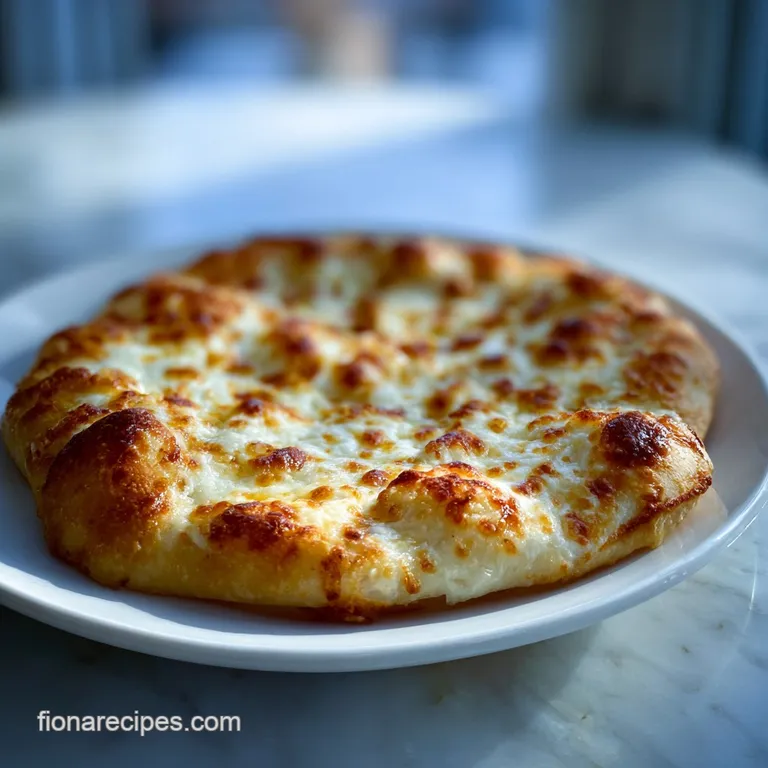
- Flavor/Texture Hook: Shatter crisp bottom with a chewy, honeycombed interior
- Perfect for: Stress free family pizza nights and beginner bakers
- Master the Perfect Homemade Pizza Dough Every Time
- The Chemistry of the Chew
- Component Analysis for Perfect Crust
- Essential Elements for Your Base
- Reliable Tools for Busy Cooks
- Steps to a Flawless Bake
- Avoiding Common Dough Disasters
- Adjustment Guidelines for Any Crowd
- Debunking Common Dough Myths
- Smart Storage and Zero Waste
- Stunning Finishes for Your Pizza
- Recipe FAQs
- 📝 Recipe Card
Master the Perfect Homemade Pizza Dough Every Time
The first time I tried making pizza from scratch, it was a literal disaster. I didn't check the water temperature, killed the yeast, and ended up with a brick that could have broken a window. But then I remember the first time it actually worked.
The kitchen smelled like a warm, yeasty hug, and that first "pssh" sound of the dough hitting a hot pan was pure magic. There is nothing like the smell of blooming yeast to make a house feel like a home.
Right then, we are going for that specific pizzería vibe without the expensive wood fired oven. I want you to imagine a crust that has those beautiful little char marks and a middle that doesn't go floppy when you add your sauce. It's about getting the basics right so you don't have to stress about dinner.
We’ve all been there, staring at a ball of dough that won't stretch, but honestly, once you learn the temperature trick, you'll never go back to store-bought.
Trust me on this, this homemade pizza dough is a total classic for a reason. It's forgiving, it's fast, and it makes enough to feed the whole family without a mountain of dishes. We're going to use simple all purpose flour because that's what most of us have in the cupboard, and it results in a tender bite that kids love.
Let's crack on and get your hands floury.
The Chemistry of the Chew
Yeast Fermentation: Sugar feeds the yeast, which then releases carbon dioxide bubbles that get trapped in the dough's structure to create an airy rise.
Gluten Network: Kneading aligns the proteins in the flour, creating a stretchy web that gives the crust its signature chew rather than a crumbly texture.
Maillard Reaction: The small amount of sugar in the dough helps the crust brown quickly at high heat, providing a deep, toasted flavor.
| Method | Time | Texture | Best For |
|---|---|---|---|
| Standard Oven | 10-12 mins | Crispy & Golden | Classic weeknight dinner |
| Cast Iron Skillet | 8-10 mins | Deep dish style | Extra crunchy bottom crust |
| Outdoor Grill | 5-7 mins | Charred & Smoky | Summer parties and artisan vibes |
Getting the method right depends on what tools you have sitting in your kitchen right now. If you want a quick meal, the standard oven works brilliantly, but if you have a spare ten minutes to preheat a heavy skillet, the crust becomes almost like fried bread on the bottom.
It's all about how much crunch you're craving today.
Component Analysis for Perfect Crust
| Ingredient | Science Role | Pro Secret |
|---|---|---|
| Warm Water (1.5 cups) | Hydration and yeast wake up | Use a thermometer; too hot and you kill the yeast instantly. |
| Active Dry Yeast (1 packet) | Leavening agent | Ensure it foams up; if it stays flat, your dough won't rise. |
| All Purpose Flour (4 cups) | Structural foundation | Spoon and level your flour to avoid a dry, heavy dough ball. |
Essential Elements for Your Base
For this recipe, we are keeping things straightforward and pantry friendly. You won't need to hunt down specialty Italian flours to get a great result.
- Warm Water (1.5 cups): Needs to be between 105°F and 110°F. Why this? Wakes up yeast without Scalding it.
- Granulated Sugar (1 tablespoon): Just a touch for the yeast. Why this? Speeds up the fermentation process.
- Active Dry Yeast (1 packet/7g): The heart of the rise. Why this? Provides a reliable, consistent lift.
- All Purpose Flour (4 cups): Our main structure. Why this? Provides a softer, kid friendly bite than bread flour.
- Extra Virgin Olive Oil (2 tablespoons): Adds fat and flavor. Why this? Makes the dough more supple and easy to stretch.
- Fine Sea Salt (1.5 teaspoons): Crucial for taste. Why this? Tightens gluten and balances the yeast's sweetness.
- Cornmeal (1 tablespoon): For the pan. Why this? Prevents sticking and adds a professional crunch.
Reliable Tools for Busy Cooks
You really don't need a lot of gear for this. While a stand mixer (like a KitchenAid) is nice, your own two hands work just as well and give you a better feel for the dough's moisture.
A large mixing bowl is your primary workspace. Use a sturdy wooden spoon or even a stiff spatula to get the initial shaggy mass together. If you find your dough is sticking too much to your hands, keep a small bowl of extra flour nearby.
For the actual baking, a standard baking sheet works fine, but a pizza stone or a cast iron pan will give you a more "shatter" style crust.
Speaking of cozy family meals, if you're looking for something to serve alongside a fresh pizza, my Baked Macaroni and recipe is a huge hit when we do a "carb fest" night. It's that same comfort food energy that makes everyone stay at the table a little longer.
Steps to a Flawless Bake
Blooming the Active Dry Yeast
Mix the warm water (1.5 cups) and sugar (1 tbsp) in a bowl, then sprinkle the yeast (1 packet) on top. Note: Let it sit for about 5 minutes until it looks foamy and smells like a brewery.
Building the Dough Foundation
Whisk the salt (1.5 tsp) into the flour (4 cups) in a separate large bowl. Add the olive oil (2 tbsp) to your yeast mixture once it's foamy.
Merging the Elements
Pour the wet mixture into the flour. Stir with a spoon until a shaggy, messy ball forms and no dry flour remains at the bottom of the bowl.
The Kneading Strength Strategy
Turn the dough onto a floured surface. Knead for about 5-7 minutes until the dough feels silky and bounces back when poked with a finger.
The Rapid First Rise
Lightly grease your bowl with a drop of oil, place the dough inside, and cover it with a warm, damp cloth. Let it rest in a warm spot for about 30 minutes until it has nearly doubled in size.
Preparing the Surface
Preheat your oven to 475°F (245°C). Sprinkle your baking sheet or pizza stone with the cornmeal (1 tbsp) until it's evenly coated but not piled up.
Shaping the Crust
Punch the dough down to release air. Divide it into two balls and stretch each one out until it's about 12 inches wide and thin in the center.
The Final High Heat Bake
Add your favorite sauce and cheese. Bake for 10-12 minutes until the cheese is bubbling and the edges are golden brown.
Avoiding Common Dough Disasters
One of the biggest hurdles is the "snap back." You try to stretch the dough, and it just shrinks right back into a tiny circle. This usually happens because the gluten is too tight. If this happens to you, just walk away! Give the dough a 10 minute "time out" to relax, and it will stretch much easier afterward.
To Fix Dough That Keeps Shrinking
The proteins in the flour are like rubber bands. When they get overworked, they pull back. By letting the dough sit at room temperature for a few extra minutes, you allow those bands to slacken. It’s a simple fix that saves a lot of frustration.
How to Avoid a Soggy Bottom
Nobody likes a limp pizza slice. If your crust is wet in the middle, it's usually because there's too much moisture in your toppings or your oven isn't hot enough. Make sure you don't overload the center with heavy sauce.
| Problem | Root Cause | Solution |
|---|---|---|
| Dough won't rise | Dead yeast or cold water | Check the "use by" date on yeast and use 110°F water. |
| Crust is too tough | Over kneading or too much flour | Knead only until smooth; use a light hand with extra flour. |
| Bottom is pale | Oven temperature too low | Crank the oven to at least 450°F and use a preheated tray. |
Common Mistakes Checklist
- ✓ Using water that's too hot (over 120°F kills the yeast).
- ✓ Forgetting to salt the dough (it will taste like cardboard).
- ✓ Not letting the dough rest after shaping (causes the snap back).
- ✓ Adding too many watery toppings like fresh un drained pineapple or tomatoes.
- ✓ Opening the oven door too often (heat escapes and ruins the rise).
Adjustment Guidelines for Any Crowd
If you're hosting a bigger party, doubling this homemade pizza dough is quite simple. You don't need to double the yeast exactly one and a half packets is usually plenty for a double batch of flour. Just make sure your mixing bowl is large enough, or the dough might try to escape while it's rising!
For a smaller dinner for two, you can easily halve the ingredients. If you have half an egg from another recipe, you can use a tiny splash to brush the crust for extra shine, but it's not strictly necessary.
When halving, keep an eye on the water temperature even more closely, as smaller amounts of water lose heat faster.
If you love the process of making dough, you might find the technique similar to what I use in my Chicken Pot Pie Recipe. Both require a bit of a "feel" for the flour and moisture, though the pizza dough is much more about strength and stretch than the flaky layers of a pie crust.
Debunking Common Dough Myths
Many people think you need expensive "00" flour to make a good pizza. That is simply not true. While specialty flour can change the texture slightly, all purpose flour creates a fantastic, chewy crust that is perfect for a weeknight. It's much more about how you handle the dough and the temperature of your oven.
Another myth is that you must let the dough rise for 24 hours. While a long cold ferment in the fridge does add a sourdough like flavor, it isn't required for a great pizza. This 40 minute rise gives you a delicious, fresh result that beats any delivery box.
Don't let the "pro" techniques intimidate you from starting today.
Smart Storage and Zero Waste
Storage: You can keep the raw dough in the fridge for up to 3 days in an airtight container lightly coated in oil. In fact, it often tastes better on day two! For the freezer, wrap individual dough balls tightly in plastic wrap and then place them in a freezer bag for up to 3 months.
To use, just thaw in the fridge overnight.
Zero Waste: If you have leftover dough scraps after trimming your pizzas, don't toss them! Roll them into small ropes, tie them in knots, and bake them alongside the pizza. Toss them in melted butter and garlic salt for instant garlic knots. If you have extra sauce or cheese, you can also use them to top a quick tray of Baked Ziti Recipe later in the week to ensure nothing goes to waste.
Stunning Finishes for Your Pizza
Presentation is all about those little details. Before the pizza goes into the oven, brush the outer edge of the crust with a little extra olive oil and sprinkle on some dried oregano or garlic powder. It gives it that "gourmet" look and smells incredible while it's baking.
When the pizza comes out, don't cut it immediately! Give it about 2 or 3 minutes for the cheese to set. If you cut it too soon, all that velvety cheese will slide right off the crust.
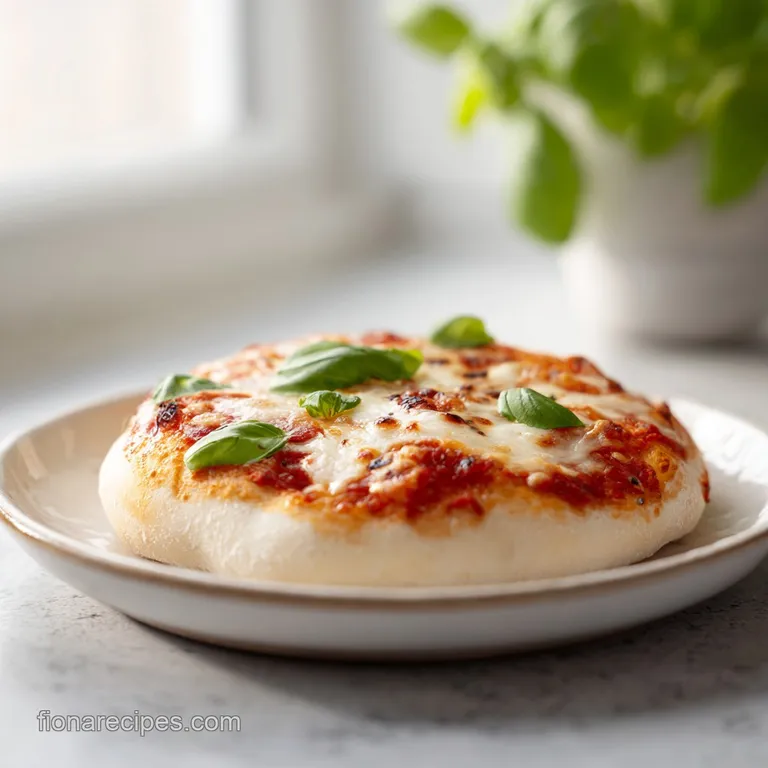
A fresh sprinkle of basil leaves or a grating of hard parmesan right at the end makes it look like it came straight from a fancy Italian spot. Your family will be impressed, but only we know how easy it actually was.
For a Shattering Golden Crust
To get that professional crunch, make sure your oven is fully preheated for at least 20 minutes before the pizza goes in. The hit of high heat is what creates those tiny bubbles in the crust.
For an Herb Crusted Perimeter
Mix a teaspoon of Italian seasoning into your flour before adding the water. This distributes the flavor throughout the entire base, making even the plain crust sections delicious.
For Cheesy Stuffed Edges
If you want to go all out, place strips of mozzarella around the edge of your stretched dough, fold the dough over them, and pinch it tight. It’s a kid approved trick that ensures no crusts are left behind on the plate.
 : PIN FOR LATER")
Recipe FAQs
What is the secret to making good pizza dough?
High initial heat and proper proofing time. The secret lies in waking the yeast correctly with warm water (105°F-110°F) and baking on a very hot surface, ideally preheated for 20 minutes. If you enjoyed mastering the sensory doneness cues here, apply them to our Homemade Chicken Noodle recipe for perfect results.
What is the 55 rule for pizza dough?
The 55 rule refers to hydration percentage, meaning the water weight is 55% of the flour weight. This results in a manageable dough that is relatively easy to handle while still yielding a chewy texture. Doughs below 55% can be dry, while those significantly higher require advanced technique.
What should I absolutely avoid when making pizza dough?
Do not use water hotter than 120°F, and never skip the salt. Water that is too hot will kill the yeast instantly, resulting in flat dough, and salt is crucial as it tightens the gluten structure and balances the yeast's flavor.
How can I make great pizza dough using only regular all-purpose flour?
Use slightly less water and knead until the dough is silky but not overly sticky. All-purpose flour has lower protein content than bread flour, so avoid over kneading to prevent it from becoming too tough. If you enjoyed controlling cookie spread here, see how the same fat ratio logic applies to our Fluffy Pancakes From Scratch recipe for tender baked goods.
My dough keeps snapping back when I try to stretch it; what is wrong?
No, this is a common issue caused by under resting the gluten structure. The gluten network is too tight from kneading or shaping; let the dough rest, covered, for 10 minutes, and the gluten will relax, allowing you to stretch it thinly without tearing.
Can I use bread flour instead of all-purpose flour for this recipe?
Yes, you can, but you must slightly reduce the flour volume. Bread flour has more protein, meaning it absorbs more liquid; use about 1/4 cup less flour for the same amount of water to maintain proper hydration. This technique of adjusting flour density is similar to what is required when making the filling for Stuffed Pasta Shells recipe.
How long can I proof my pizza dough in the refrigerator?
You can safely cold proof dough for 2 to 3 days in the fridge. Place the dough ball in an oiled, airtight container; the slow fermentation develops deeper, more complex flavors while you wait. Make sure to bring it back to room temperature for about an hour before stretching.
Homemade Pizza Dough Recipe

Ingredients:
Instructions:
Nutrition Facts:
| Calories | 258 kcal |
|---|---|
| Protein | 6.5 g |
| Fat | 4.2 g |
| Carbs | 47.8 g |
| Fiber | 1.8 g |
| Sugar | 1.6 g |
| Sodium | 439 mg |
