Fudgy Brownies from Scratch Recipe
- Time: Active 10 minutes, Passive 25 minutes, Total 35 minutes
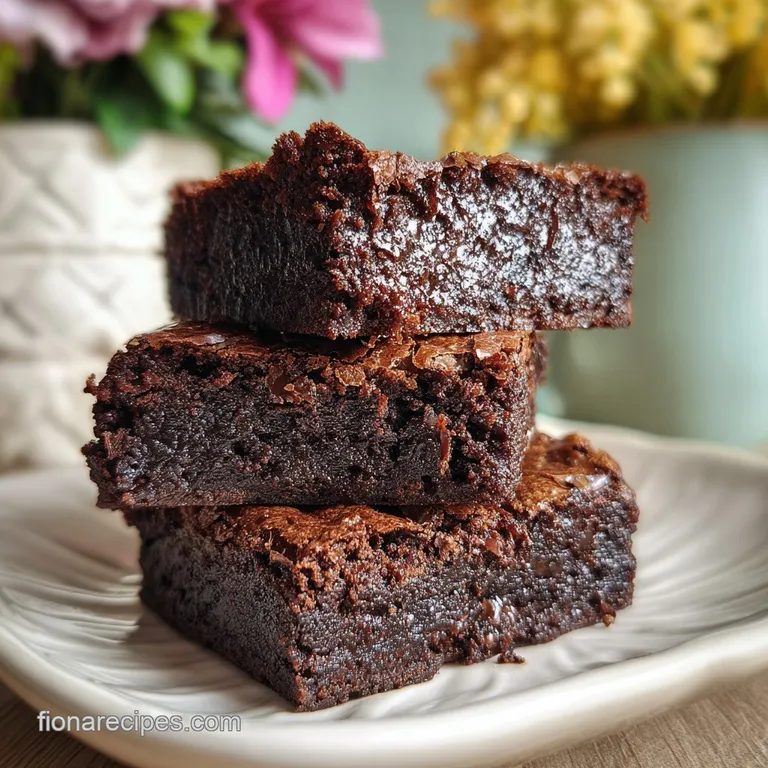
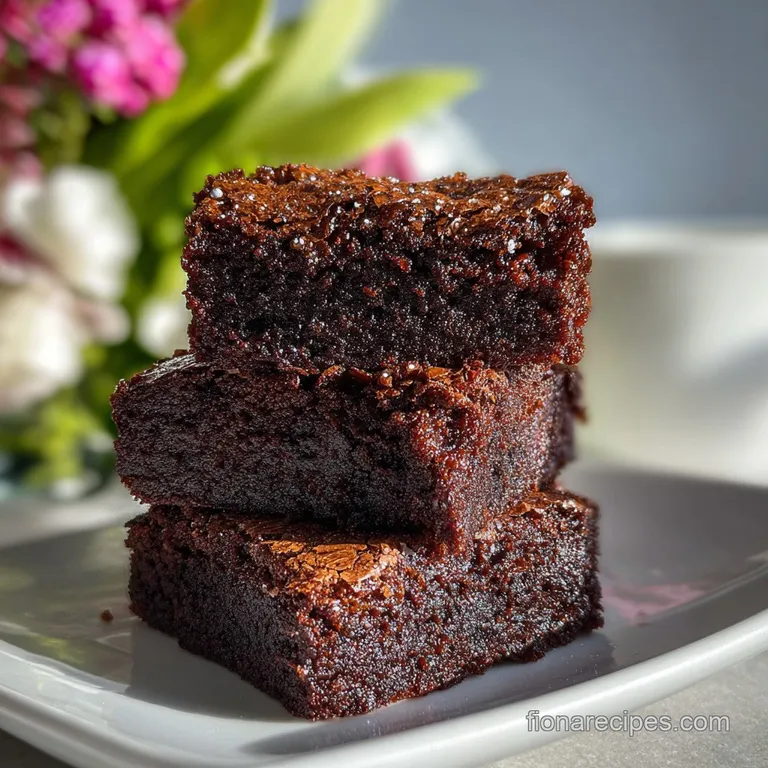
- Flavor/Texture Hook: Velvety, chocolate heavy center with a paper thin, crackly top
- Perfect for: Stress free weekend baking or a quick kid approved dessert
- The Molecular Secrets That Create Great Fudgy Brownies
- Essential Timing and Temperature Guidelines for Baking Success
- Selecting the Best Pantry Staples for Rich Chocolate Flavor
- Basic Tools Required for a Simple One Bowl Baking Experience
- A Simple Method for Crafting Fudgy Brownies From Scratch
- Fixing Common Baking Obstacles for Consistent Fudgy Results
- Modifying the Batch Size for Different Family Occasions
- Adjusting the Recipe for Various Dietary and Lifestyle Needs
- Debunking Popular Misconceptions About Homemade Chocolate Baking
- Managing Leftovers and Minimizing Food Waste in the Kitchen
- Creative Presentation Ideas for Your Decadent Chocolate Treats
- Fudgy Brownie FAQs
- 📝 Recipe Card
The Molecular Secrets That Create Great Fudgy Brownies
I still remember the first time I actually got that elusive, shiny, crackly top on a batch of brownies. I was standing in my kitchen, flour on my face, hovering over the oven light like it was a television show. For years, I struggled with brownies that were either too dry and bready or so oily they felt like a puddle.
It turns out, the "shatter" on top isn't magic it’s actually a thin layer of meringue created when the sugar and eggs are whipped just enough.
We are going for a treat that feels heavy in your hand and melts the second it hits your tongue. This isn't the kind of snack you need a glass of milk to wash down because it's dry; you need the milk because it's so intensely chocolatey.
It’s the ultimate comfort food for a busy weeknight when the kids are finally in bed and you just want something real and homemade.
Trust me, once you see how easy it is to skip the box mix, you’ll never go back. We're using simple pantry staples to get results that look like they came from a high end bakery. The best part? You probably have everything in your cupboard right now.
Let’s get into the "how" so you can start smelling that cocoa aroma in your own house.
Fat to Flour Ratio: High fat content from 10 tbsp butter and low flour (1/2 cup) prevents gluten structures from forming, ensuring a dense, velvety texture.
The Bloom Effect: Mixing cocoa powder into hot, melted butter dissolves the solids and releases aromatic compounds that stay dormant in cold fat.
Sugar Dissolution: Using coconut sugar or cane sugar with hot butter helps create a stable syrup that contributes to the signature "crackle" crust.
Egg Emulsification: Room temperature eggs bond more effectively with the fats, preventing the batter from breaking and becoming greasy.
Choosing Your Ideal Baking Technique
| Method | Time | Texture | Best For |
|---|---|---|---|
| Standard Oven | 25 minutes | Even bake, crisp edges | Classic family batches |
| Cast Iron Skillet | 20 minutes | Extra chewy, caramelized bottom | Serving warm with ice cream |
| Air Fryer | 18 minutes | Very soft center, rapid crust | Small portions (half batch) |
When you use a cast iron skillet, the heat retention is much higher than a standard glass or metal pan. This means the edges will get a bit "sizzle" and crunch while the middle stays incredibly soft, almost like a molten cake.
Essential Timing and Temperature Guidelines for Baking Success
One mistake I once made was pulling the pan out too late. Unlike a cake, you don't want a toothpick to come out clean when you're making brownies from scratch. If the toothpick is clean, you’ve made chocolate bread.
You want moist crumbs clinging to it that’s the signal that the residual heat will finish the job while they cool.
Another huge tip for the family cook: don't rush the cooling process. I know, the smell is torture, but the structure of a fudgy brownie sets as the temperature drops. If you cut into them while they're steaming, you'll end up with a messy (though still tasty) pile of chocolate.
Precision Checkpoints for Results
- Butter Temperature: Heat the 140g of butter until it is fully liquid and hot to the touch (about 130°F) before adding sugar.
- Cocoa Precision: Use exactly 75g (3/4 cup) of Dutch process cocoa; adding more can make the batter too stiff to fold.
- Internal Doneness: If using a thermometer, aim for 190°F (88°C) in the center for the perfect fudge to set ratio.
Analyzing the Core Elements of Fudgy Treats
| Ingredient | Science Role | Pro Secret |
|---|---|---|
| Unsalted Butter | Provides moisture and fat | Melt it until hot to "bloom" the cocoa powder effectively |
| Dutch Process Cocoa | Structural base and flavor | Sift it to avoid "cocoa bombs" of dry powder in the batter |
| Large Eggs | Bind ingredients and lift | Use room temperature eggs to ensure a smooth, velvety emulsion |
| Coconut Sugar | Sweetness and moisture | It adds a hint of caramel notes compared to white cane sugar |
Each of these components works together to create a specific chemical reaction. The fat in the butter coats the flour particles, which slows down gluten development this is why these stay so tender.
Selecting the Best Pantry Staples for Rich Chocolate Flavor
- 10 tbsp (140g) unsalted butter: Melted and hot. Why this? The heat helps dissolve sugar and activates the cocoa powder's deepest flavors.
- Substitute: Salted butter (just omit the extra sea salt later).
- 1 cup (200g) coconut sugar: Or granulated cane sugar. Why this? Coconut sugar gives a deeper, almost toffee like flavor to the base.
- Substitute: Brown sugar for an even chewier, moister result.
- 2 large eggs: Room temperature. Why this? They whip better, helping create that beautiful paper thin top crust.
- Substitute: Flax eggs (though the top won't be as crackly).
- 1 tbsp pure vanilla extract: Don't be shy with this. Why this? Vanilla acts as a flavor enhancer for chocolate, much like salt.
- Substitute: Vanilla bean paste for those pretty little flecks.
- 3/4 cup (75g) unsweetened Dutch process cocoa powder: Sifted. Why this? Dutch process is less acidic and darker than natural cocoa.
- Substitute: Natural cocoa powder (will be slightly tangier and lighter in color).
- 1/2 cup (65g) all purpose flour: Measured carefully. Why this? A small amount ensures the brownies stay dense and fudgy.
- Substitute: 1 to-1 gluten-free flour blend works perfectly here.
- 1/2 tsp sea salt: Essential for balance. Why this? It cuts through the sugar and makes the chocolate "pop."
- Substitute: Table salt (use slightly less as it's finer).
- 1/2 cup (60g) dark chocolate chips: At least 70% cacao. Why this? These create little "pockets" of melted chocolate throughout the square.
- Substitute: Chopped walnuts or pecans if you like a bit of crunch.
Basic Tools Required for a Simple One Bowl Baking Experience
You don't need a fancy stand mixer for this. In fact, I prefer making these by hand with a sturdy whisk and a silicone spatula. A stand mixer can actually incorporate too much air, which turns our dense fudge into a cake. Just grab a medium microwave safe bowl (or a small saucepan) and you're ready to go.
The pan choice actually matters more than you think. I always recommend an 8x8 inch metal baking pan. Glass pans take longer to heat up and longer to cool down, which can lead to overcooked edges and a raw middle. Metal conducts heat quickly and gives you those clean, sharp corners that everyone fights over.
Chef Tip: Line your pan with parchment paper, leaving an inch of overhang on the sides. This "sling" allows you to lift the entire block of brownies out at once for perfectly clean cuts.
A Simple Method for Crafting Fudgy Brownies From Scratch
- Preheat and Prep. Set your oven to 325°F (163°C) and grease an 8x8 inch pan or line it with parchment paper. Note: A lower temp prevents the edges from drying out before the middle sets.
- Melt the Butter. Place the 10 tbsp of butter in a large bowl and melt until hot. Watch for the sizzle to ensure it's warm enough.
- Incorporate the Sugar. Whisk the 1 cup of coconut sugar into the hot butter for about 1 minute. Note: This starts the process of dissolving the sugar for that shiny top.
- Add the Liquids. Whisk in the 2 room temperature eggs and 1 tbsp of vanilla extract. Whisk vigorously for 2 minutes until the mixture looks pale and smooth.
- Sift the Cocoa. Add the 3/4 cup of cocoa powder through a fine mesh sieve directly into the bowl. Note: Sifting prevents bitter lumps of dry cocoa in your finished bake.
- Fold in Dry Ingredients. Gently stir in the 1/2 cup of flour and 1/2 tsp of sea salt using a spatula. Stop as soon as the white streaks disappear to avoid tough brownies.
- Add the Extras. Fold in the 1/2 cup of dark chocolate chips.
- Fill the Pan. Pour the velvety batter into your prepared pan and smooth the top with your spatula.
- Bake the Batch. Place in the oven for 25 minutes. Bake until the edges are set and the top has "shattered" into a crackly crust.
- Cool and Slice. Remove from the oven and let them cool in the pan for at least 30 minutes. Wait until they are room temperature for the cleanest squares.
Fixing Common Baking Obstacles for Consistent Fudgy Results
Fixing Dry and Crumbly Texture
If your brownies come out more like a dry cake than fudge, the most likely culprit is either too much flour or over baking. When measuring flour, always spoon it into the cup and level it off with a knife.
Packing it down can add 20% more flour than the recipe needs, which sucks up all the moisture from the butter and eggs.
Addressing the Lack of Shiny Crust
That beautiful crackly top comes from the sugar reacting with the eggs. If you skip the vigorous whisking in Step 4, the sugar won't dissolve enough to form that meringue like layer. Make sure your eggs are at room temperature; cold eggs will chill the butter and prevent the sugar from melting into the batter.
| Problem | Root Cause | Solution |
|---|---|---|
| Greasy surface | Batter separated | Ensure eggs are room temp; don't over melt butter until it separates |
| Raw middle | Pan was glass or too deep | Bake for 5 extra mins; use a light colored metal pan next time |
| No chocolate flavor | Low quality cocoa | Use Dutch process cocoa and add a pinch of espresso powder |
Common Mistakes Checklist
- ✓ Never over mix after adding flour (this develops gluten and makes them tough).
- ✓ Always sift your cocoa powder (it’s naturally clumpy and won't dissolve on its own).
- ✓ Use a metal baking pan rather than glass for the most even heat distribution.
- ✓ Let the brownies cool completely before cutting (they finish setting out of the oven).
- ✓ Double check your oven temperature with a separate thermometer to avoid burning.
Modifying the Batch Size for Different Family Occasions
If you're hosting a big birthday party, you can easily double this recipe for a 9x13 inch pan. When doubling, keep the spices and salt at 1.5x the original amount so they don't overpower the chocolate.
You'll likely need to add about 5-8 minutes to the total bake time, but keep a close eye on it starting at the 25 minute mark.
For a smaller household, you can halve the recipe and bake it in a loaf pan. To handle the "half egg" situation, simply crack one egg into a bowl, whisk it, and use roughly 2 tablespoons of the mixture. Reduce the baking time by about 20% and check for doneness early.
Adjusting the Recipe for Various Dietary and Lifestyle Needs
If you need a "better for-you" version for the kids' school lunches, you can swap the all purpose flour for oat flour. It keeps the texture incredibly soft and adds a subtle nuttiness that pairs perfectly with dark chocolate.
Just keep in mind that oat flour absorbs more liquid, so the batter might look thicker than usual.
To Make it gluten-free
Swap the 1/2 cup of flour for a 1 to-1 gluten-free baking blend that contains xanthan gum. Because there's so little flour in this recipe anyway, the difference is almost unnoticeable. The result will still be velvety and rich.
For a dairy-free Alternative
Replace the 10 tbsp of butter with refined coconut oil or a high-quality vegan butter stick. If using coconut oil, ensure it is melted but not boiling hot. The flavor will have a very slight tropical hint, but the fudginess remains intact.
Debunking Popular Misconceptions About Homemade Chocolate Baking
One common myth is that you need expensive chocolate bars to get a "gourmet" taste. In reality, a high-quality Dutch process cocoa powder provides a more consistent flavor profile and a darker color than many melted chocolate bars.
Using cocoa powder also allows us to control the fat content more precisely through the butter.
Another misconception is that the "toothpick test" is the only way to check for doneness. For fudgy brownies from scratch, the toothpick test is actually misleading. If it comes out clean, they are already overdone. You are looking for a few moist crumbs not liquid batter, but definitely not a dry stick.
Managing Leftovers and Minimizing Food Waste in the Kitchen
These brownies will stay fresh in an airtight container at room temperature for up to 4 days. If you want to keep that fudgy texture even longer, pop them in the fridge! The cold fat makes them even denser and chewier, which some people (including my husband) actually prefer.
- Freezing: Wrap individual squares in plastic wrap and store them in a freezer bag for up to 3 months. They thaw in about 20 minutes on the counter, making them the perfect "emergency" dessert.
- Zero Waste: If you have edges that got a little too crunchy, don't toss them! Crumble them up over vanilla ice cream or mix them into a milkshake. You can also pulse stale brownie bits in a food processor to create a decadent "dirt" topping for chocolate pudding.
Creative Presentation Ideas for Your Decadent Chocolate Treats
For a casual weeknight, we just serve these as is, maybe with a little sprinkle of flaky sea salt on top to balance the sugar. But if you’re looking to impress, try serving a warm square in a bowl with a scoop of salted caramel ice cream.
The heat from the brownie starts to melt the ice cream, creating a velvety sauce that is truly next level.
If you’re hosting an afternoon tea, cut the brownies into very small 1 inch "bites" and top each with a single fresh raspberry. The tartness of the fruit cuts right through the richness of the dark chocolate chips. It looks incredibly sophisticated, even though the recipe itself is totally stress free.

Fudgy Brownie FAQs
What's the secret to super fudgy brownies?
A high fat to low flour ratio. Using plenty of melted butter and just enough flour prevents gluten structure from forming, resulting in a dense, velvety center.
How to make perfect fudgy brownies?
Whisk the eggs and sugar vigorously for two minutes after adding them to the hot butter mixture. This step creates the stable emulsion needed for a shiny, crackly top crust.
What makes brownies chewy vs fudgy?
Chewy brownies rely on slightly more flour and often brown sugar, which retains more moisture than white sugar alone. Fudgy brownies prioritize a higher fat content and a very low flour ratio.
What is the secret to a chewy brownie?
Ensure you cool the brownies completely before slicing. While the structure sets on cooling, using brown sugar instead of pure white sugar will also contribute to a chewier texture.
Is it true that over mixing flour results in cakey brownies?
Yes, this is true. Over mixing develops gluten strands in the flour, which creates an airy structure too similar to cake rather than the desired dense fudge texture.
When should I take the brownies out of the oven?
Remove them when a toothpick comes out with moist crumbs clinging to it. If the toothpick is completely clean, the residual heat will overbake them into a dry texture.
Should I use natural or Dutch process cocoa powder?
Use Dutch process cocoa powder. It is less acidic and provides a darker, richer chocolate flavor profile that pairs better with the high fat base for true fudginess.
Fudgy Brownies From Scratch
Ingredients:
Instructions:
Nutrition Facts:
| Calories | 170 calories |
|---|---|
| Protein | 2.4 g |
| Fat | 9.8 g |
| Carbs | 20.4 g |
| Fiber | 1.9 g |
| Sugar | 14.4 g |
| Sodium | 76 mg |
